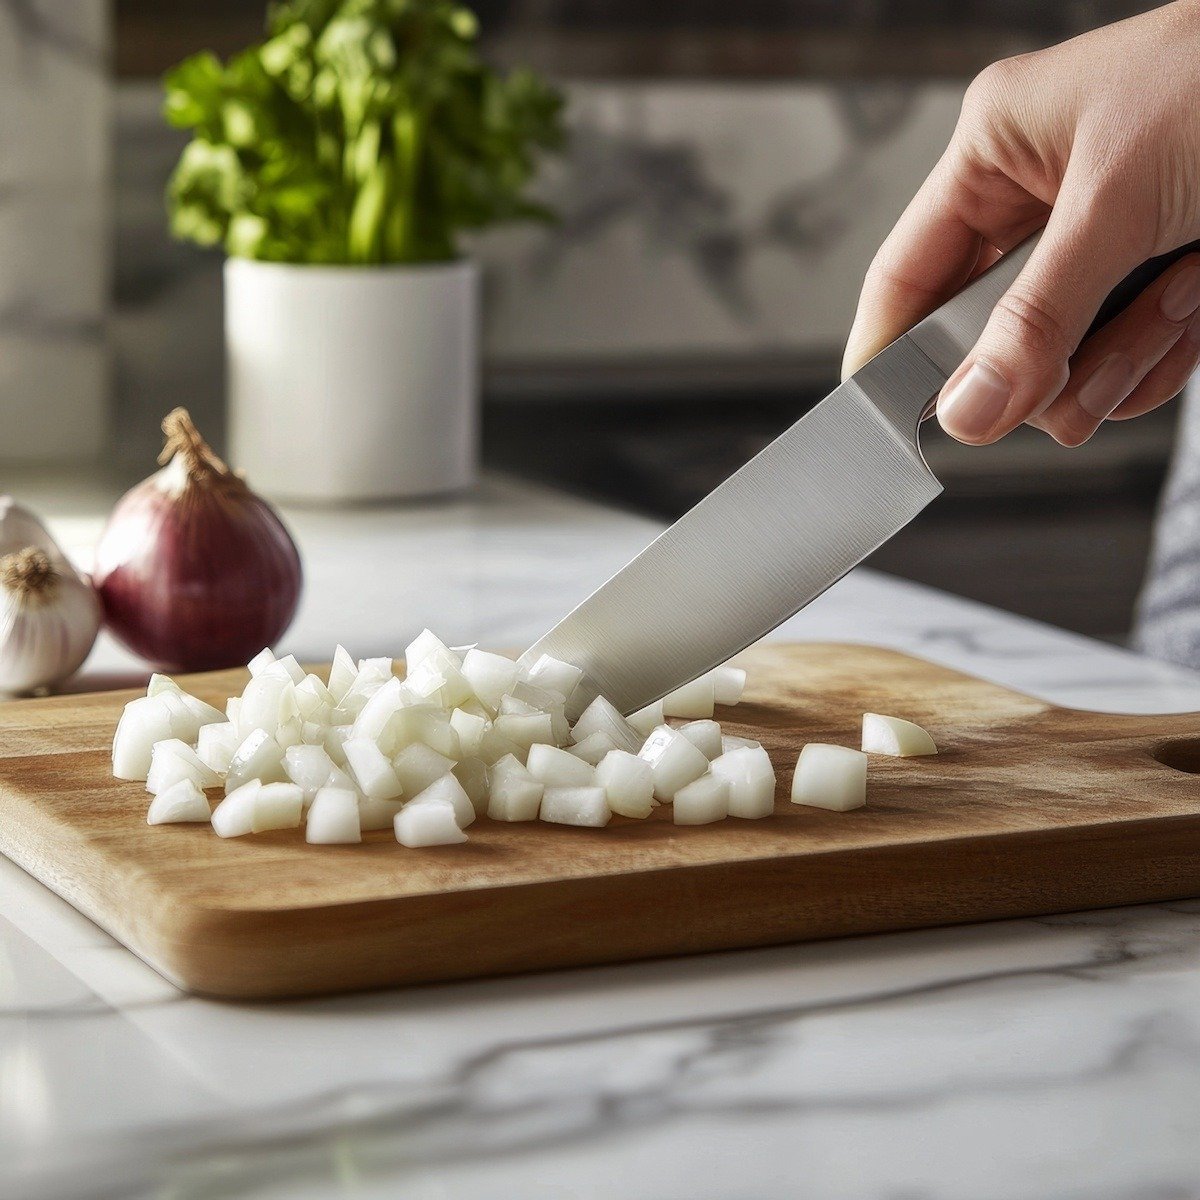
Step-by-step guides for every skill level
With helpful step-by-step instructions
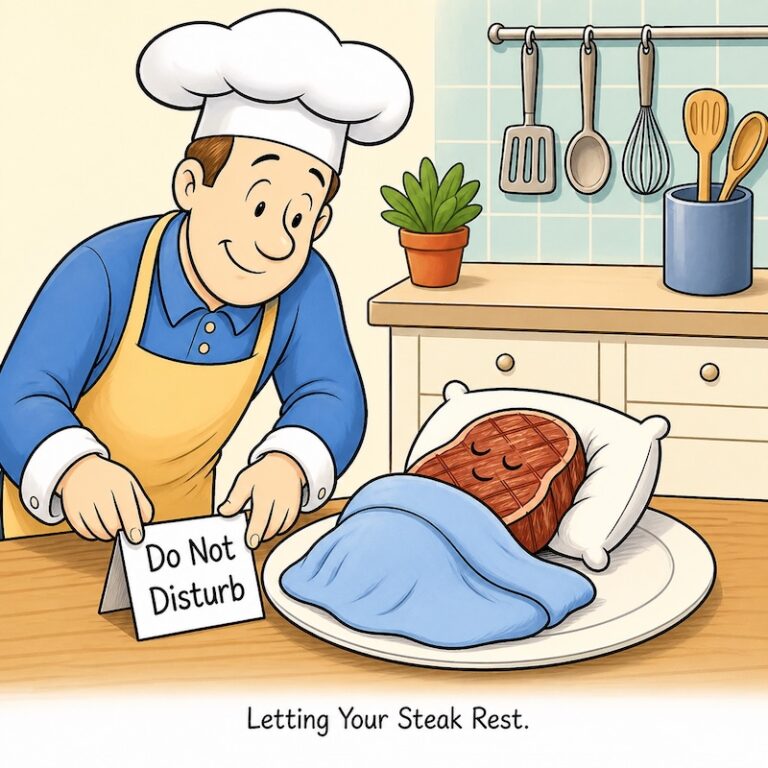
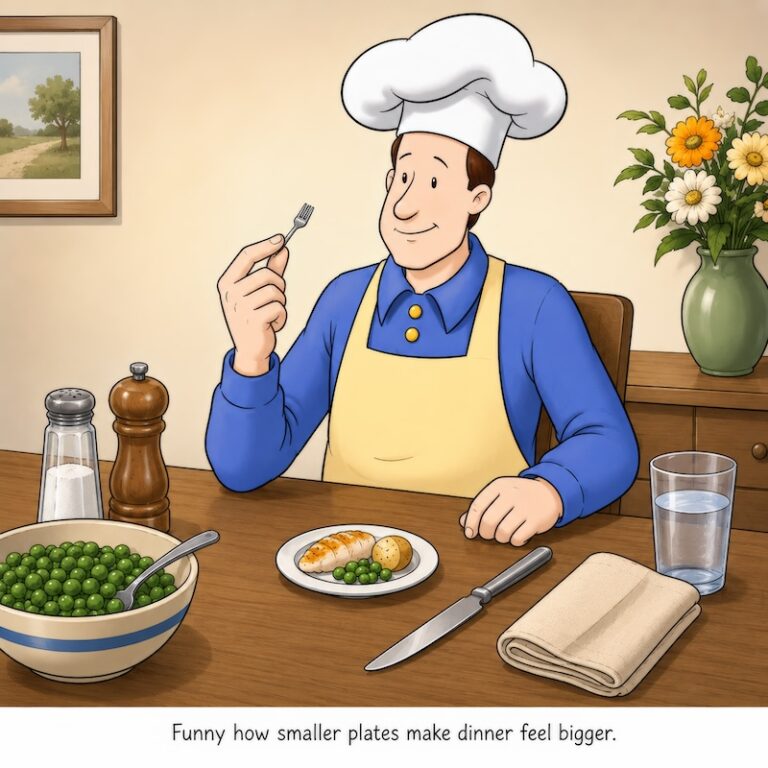
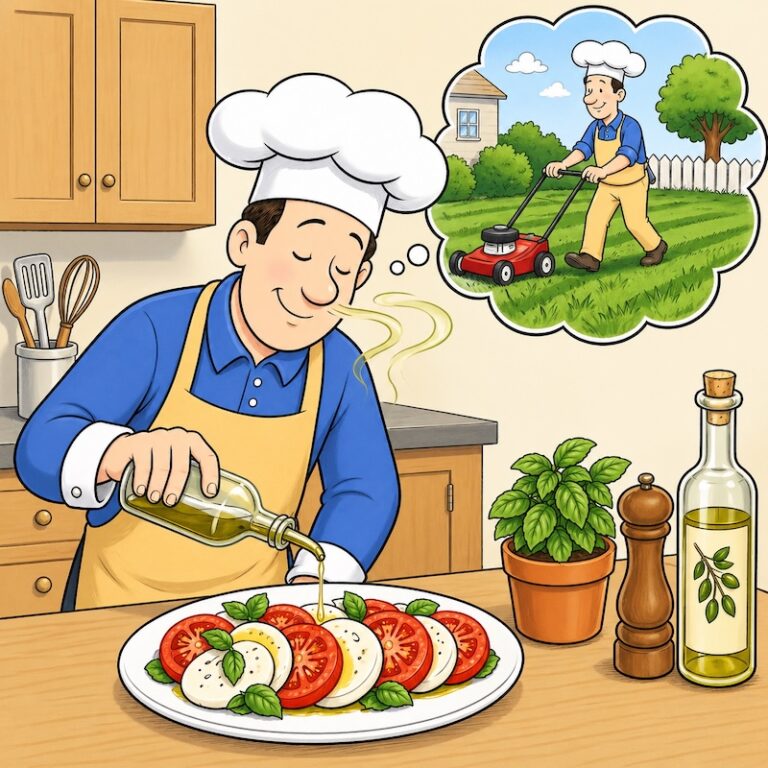
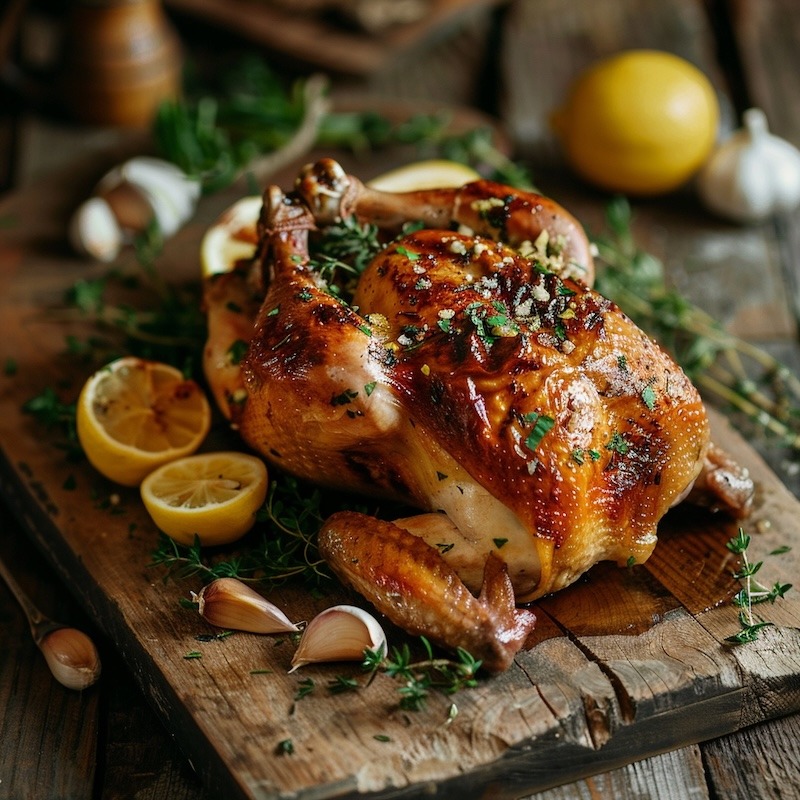
Impress friends and family every time
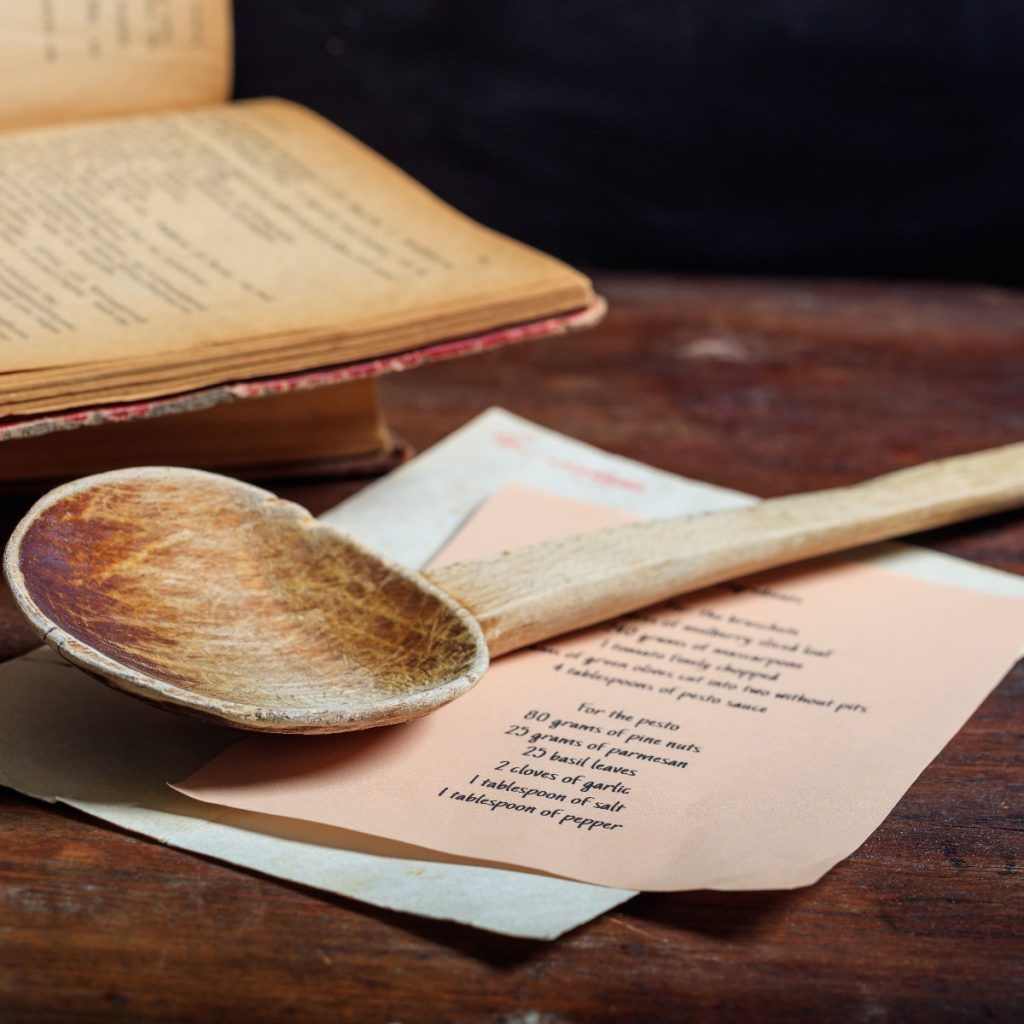
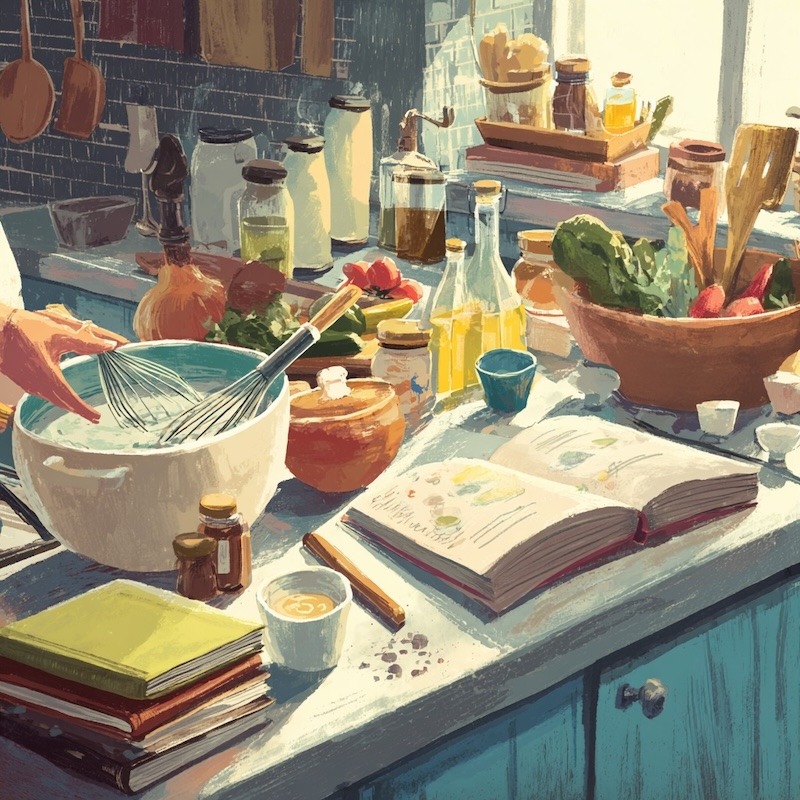
Organize meals & ingredients with ease
Yes, I'm starting up a new newsletter with step-by-step recipes, helpful cooking tips, and my latest funny cooking cartoons. Would love to have you on board.