Skip to content
Search ...
Results
Planning
Skills
Techniques
Recipes
Knowledge
Planning
Skills
Techniques
Recipes
Knowledge
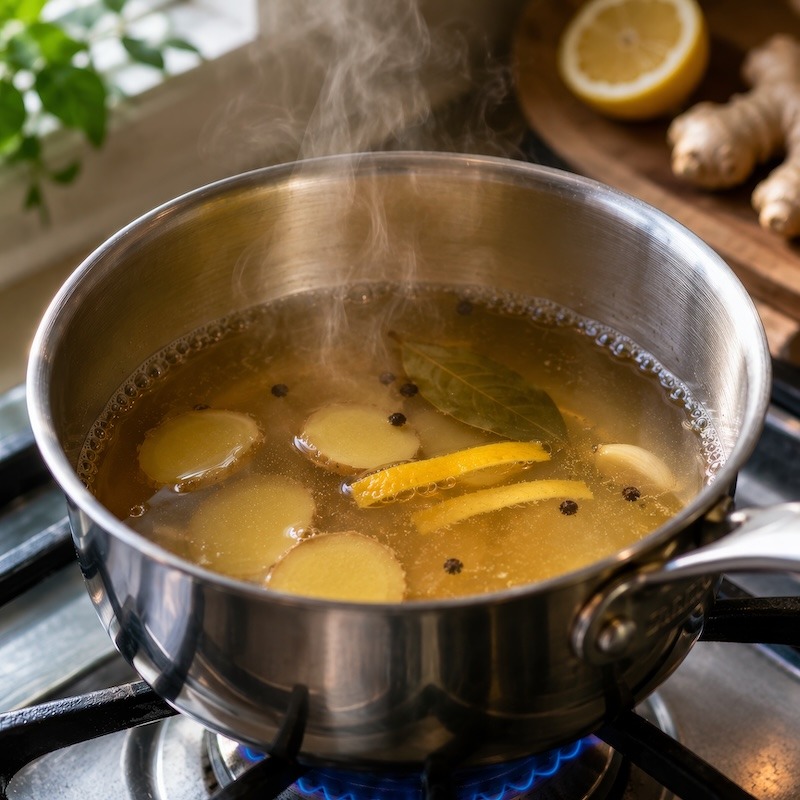
A Better Steaming Liquid — and Why It Makes a Real Difference
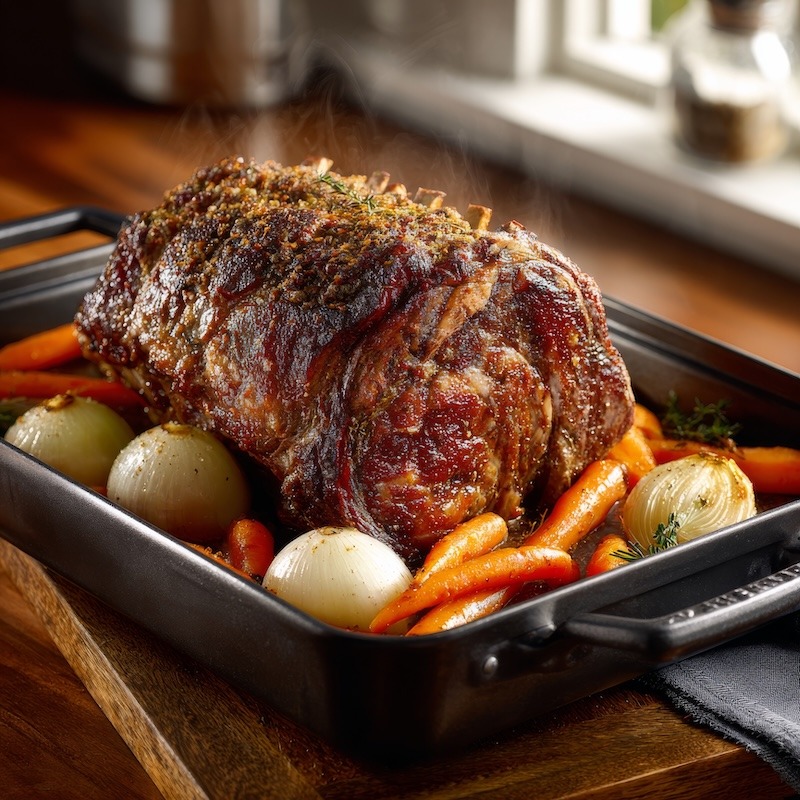
How to Roast Meat and Vegetables Perfectly Every Time
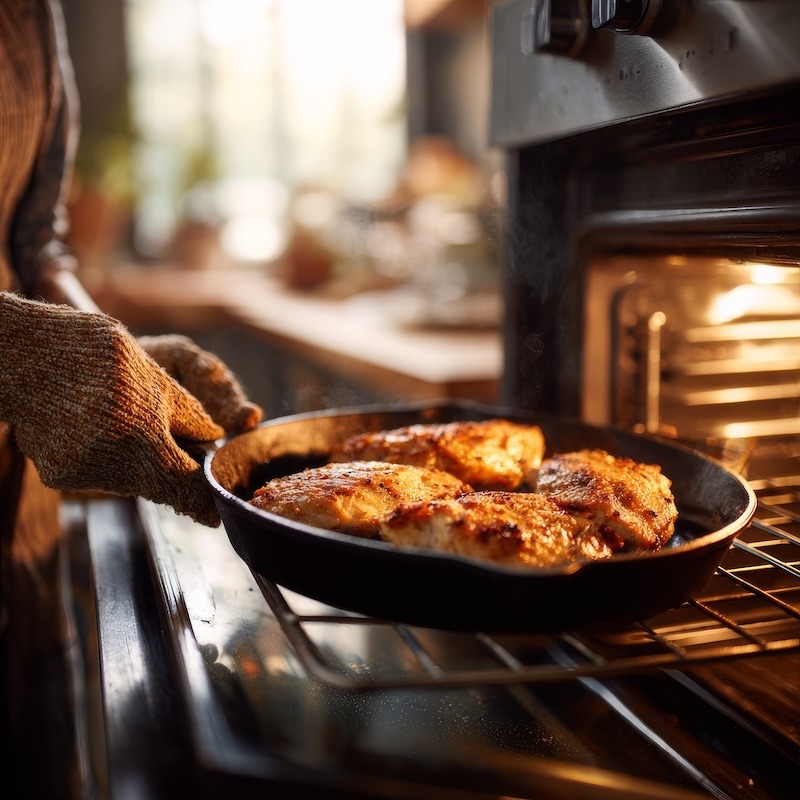
Pan Roasting: The Technique That Does Two Jobs at Once
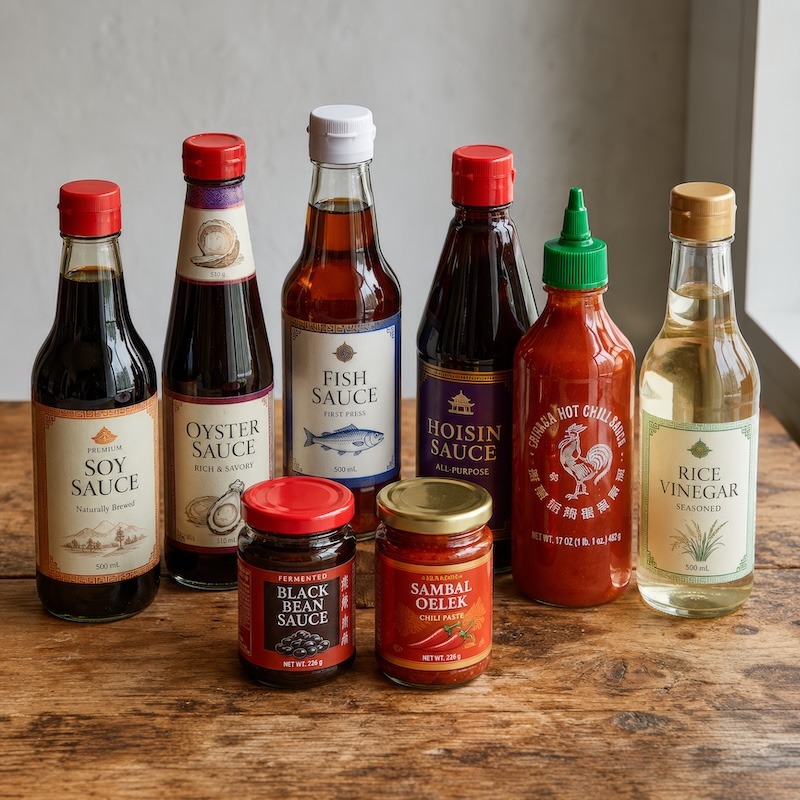
Asian Cooking Sauces: A Home Cook’s Guide to the Essentials
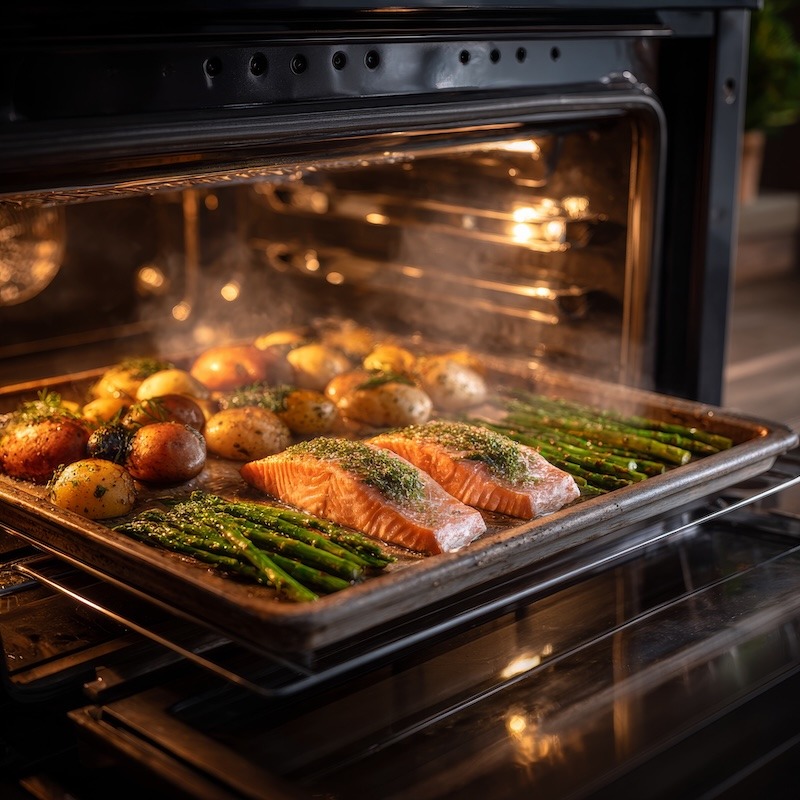
One-Oven Meals Using Steam and Convection
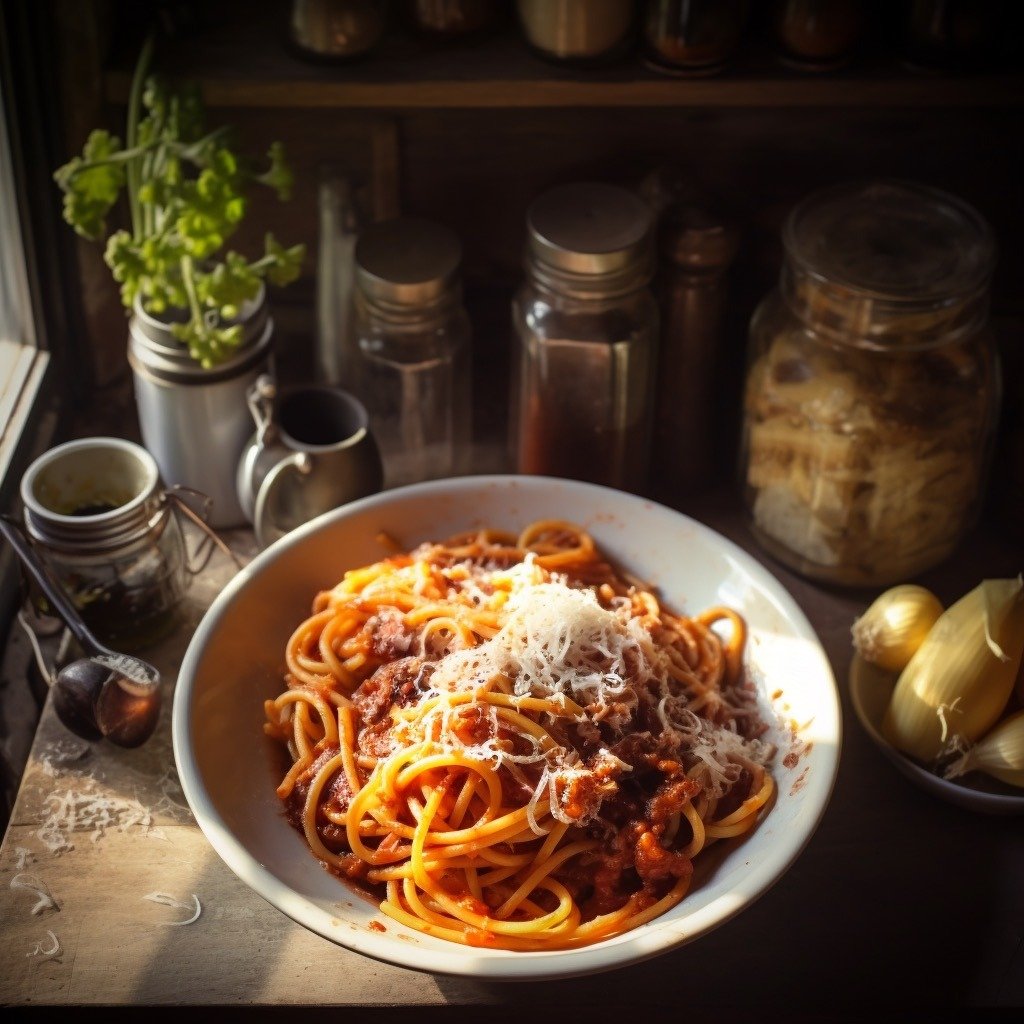
How to Make Bucatini all’Amatriciana the Right Way
Regional Italian Pasta: Which Shape Belongs With Which Sauce
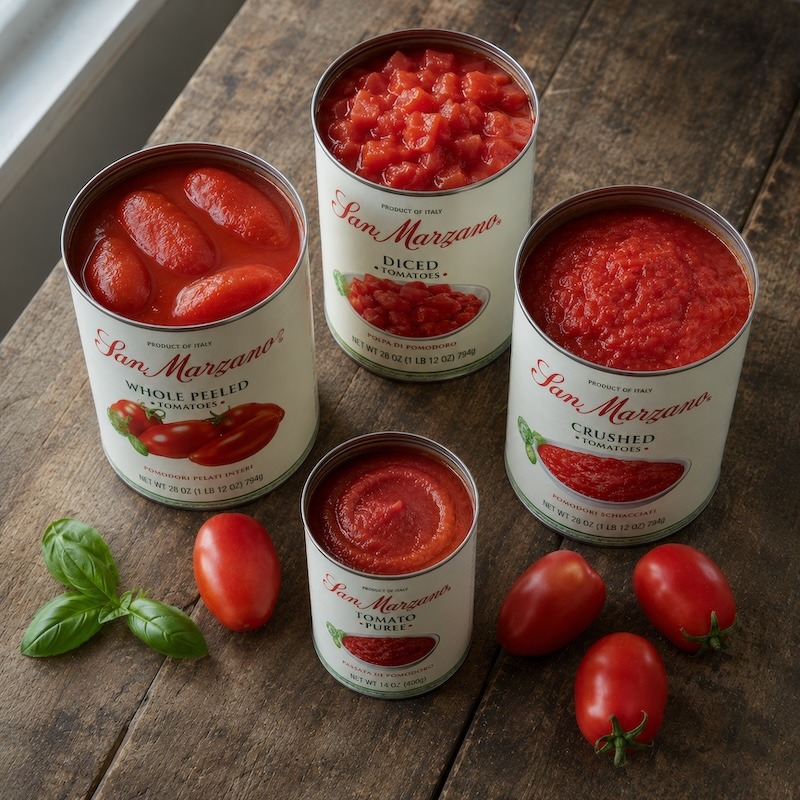
How to Choose and Use Canned Tomatoes Like a Cook
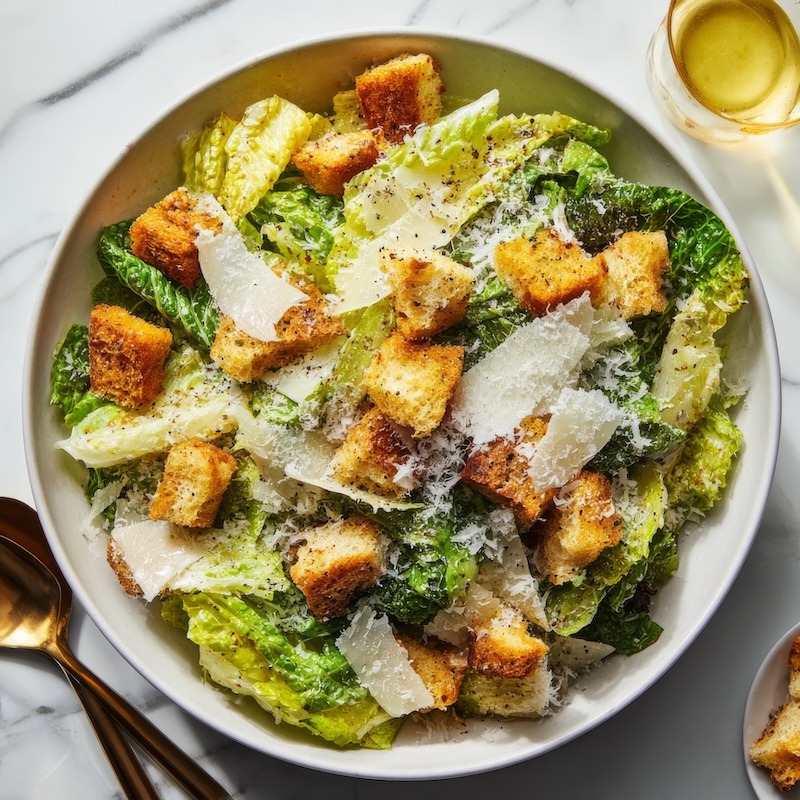
Classic Caesar Salad: From-Scratch Dressing and Croutons
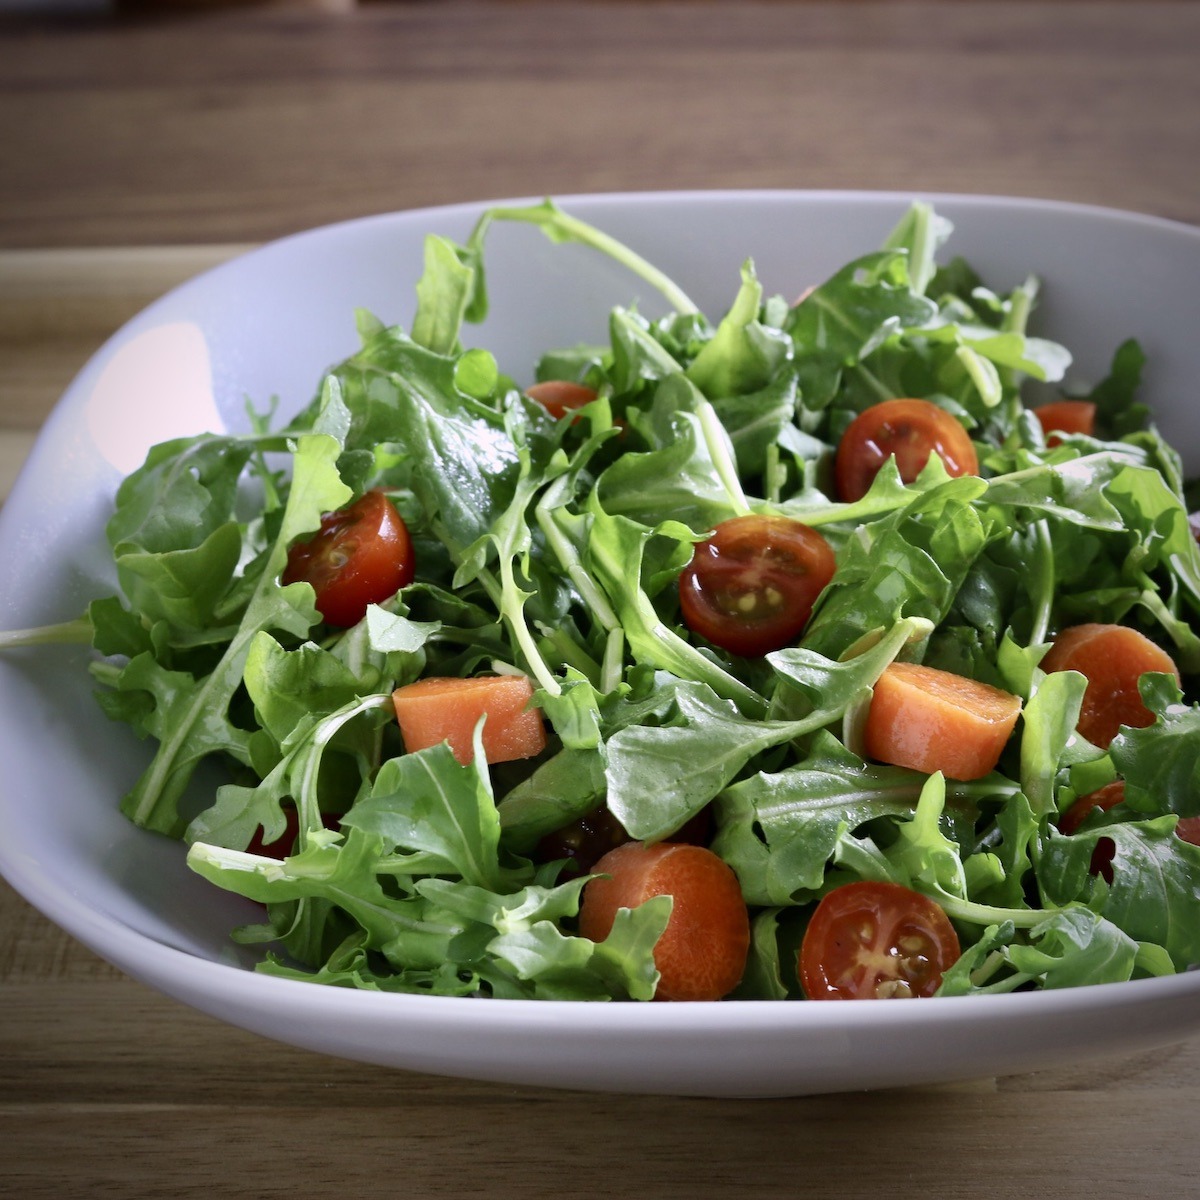
Salad Greens Guide: Types, Flavors, and How to Use Each
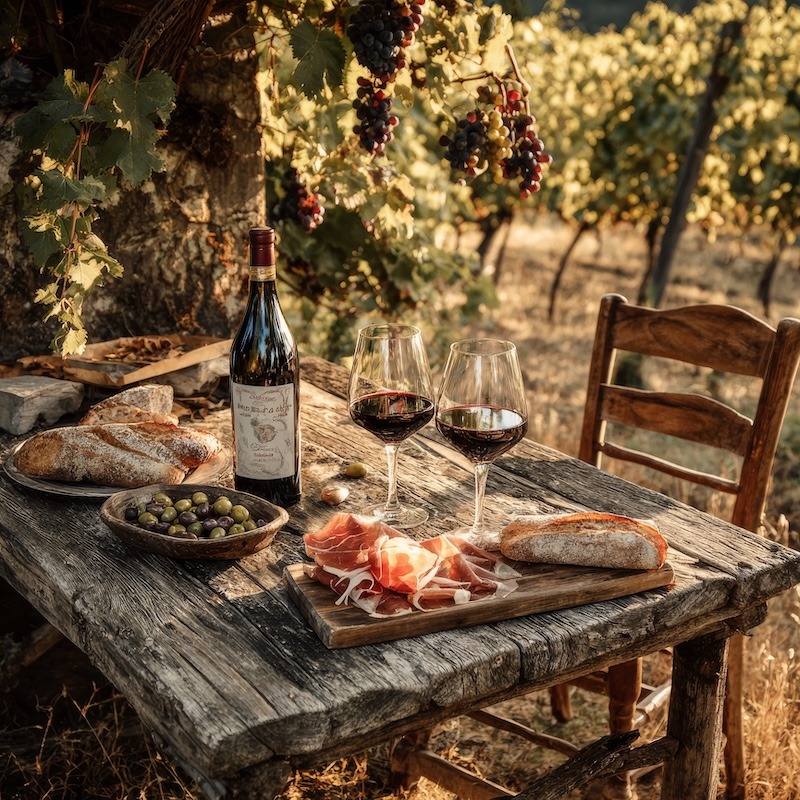
What Is Terroir and Why Does It Matter for Food and Wine Pairing?
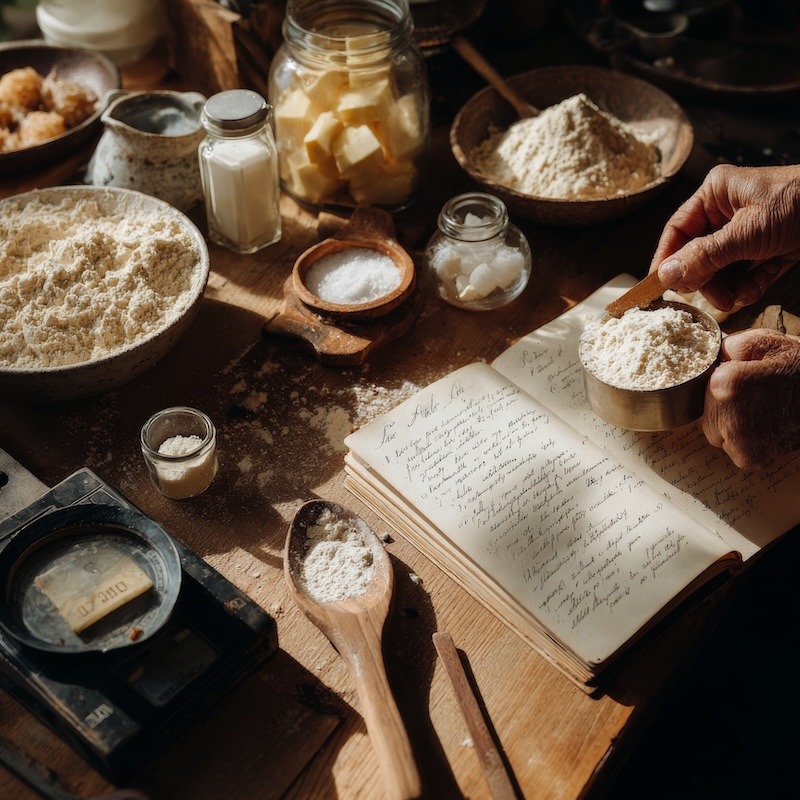
Best Food Ingredient Equivalent and Conversion Guide
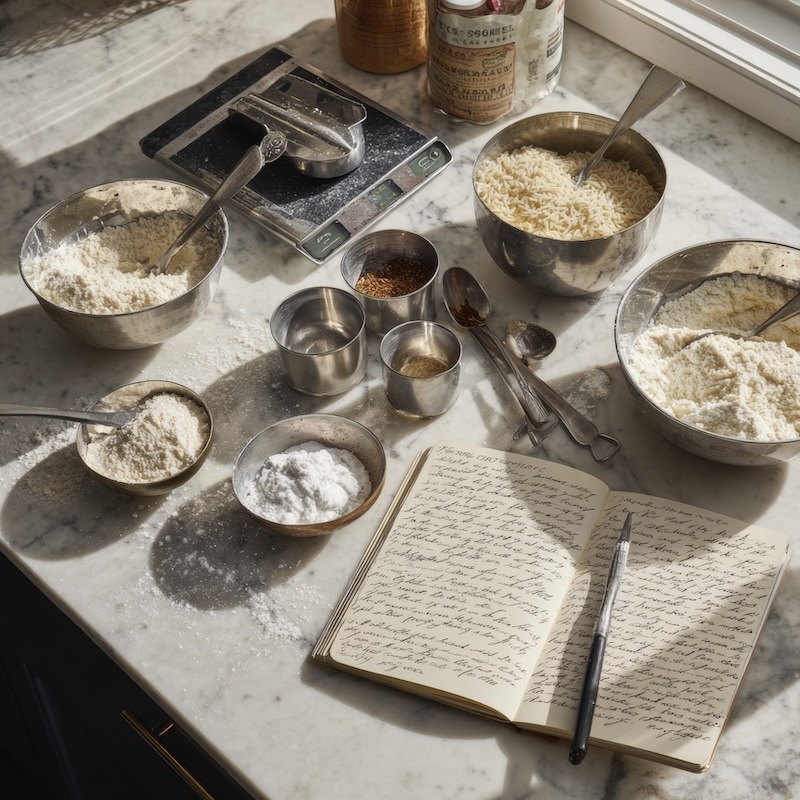
Kitchen Conversion Calculator: Your Must-Have Kitchen Tool
Understanding Oil Smoking Points: A Comprehensive Guide
The Secret to Great Lobster Fra Diavolo at Home
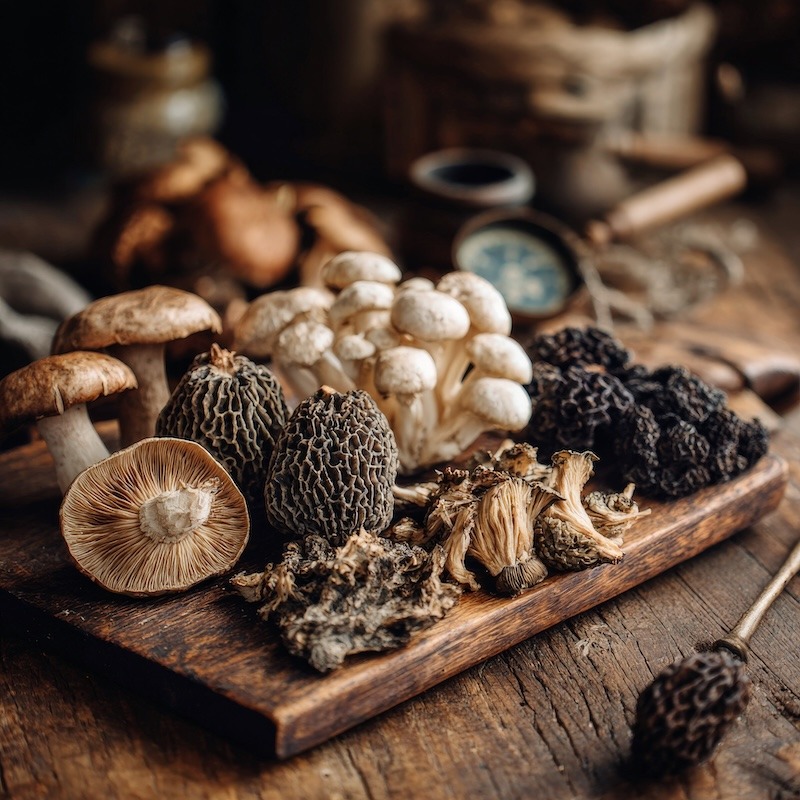
Mushroom Conversions Equivalents and Substitutions
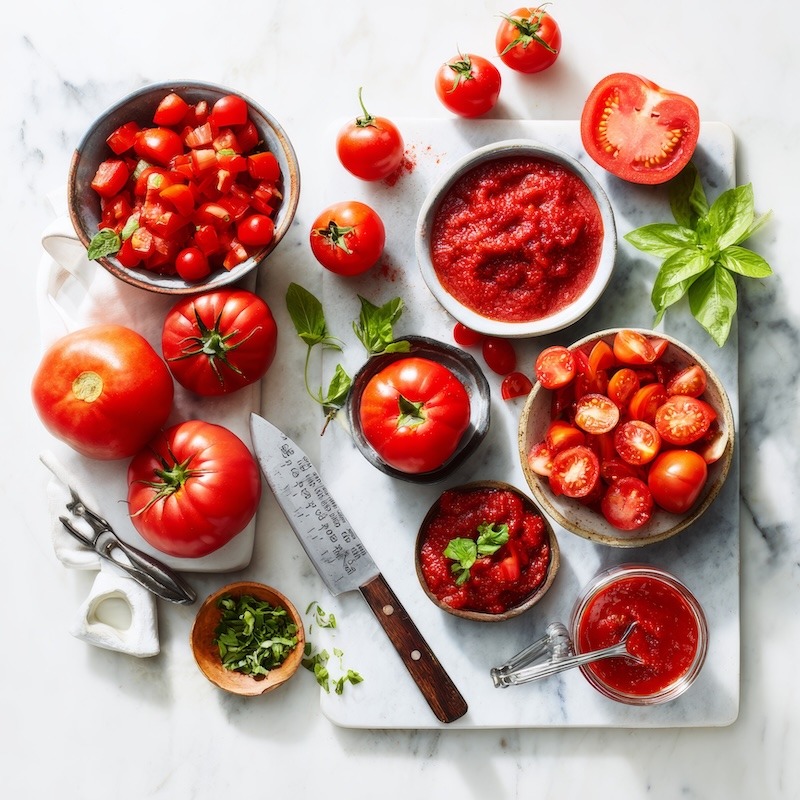
Tomato Conversions: Fresh, Canned, Cups, Pounds & Equivalents
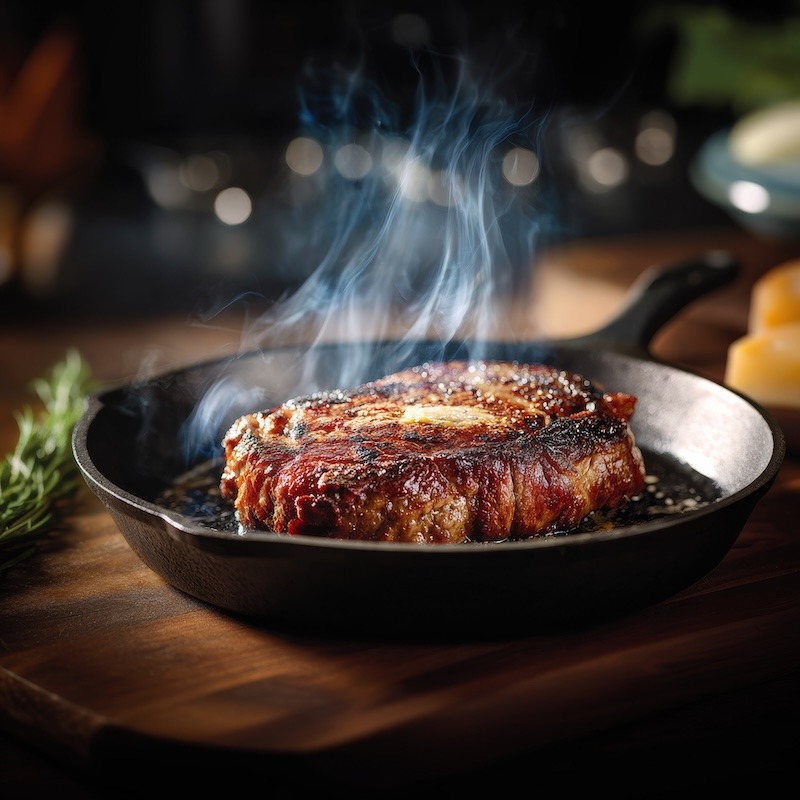
The Truth About Searing Meat and Juiciness
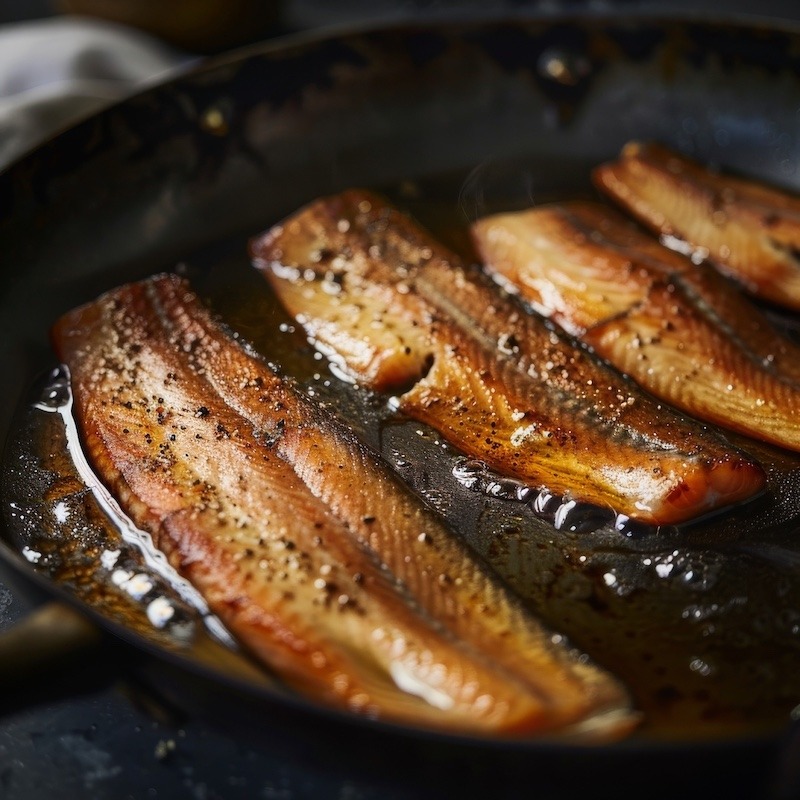
Pan-Seared Rainbow Trout Filets Recipe
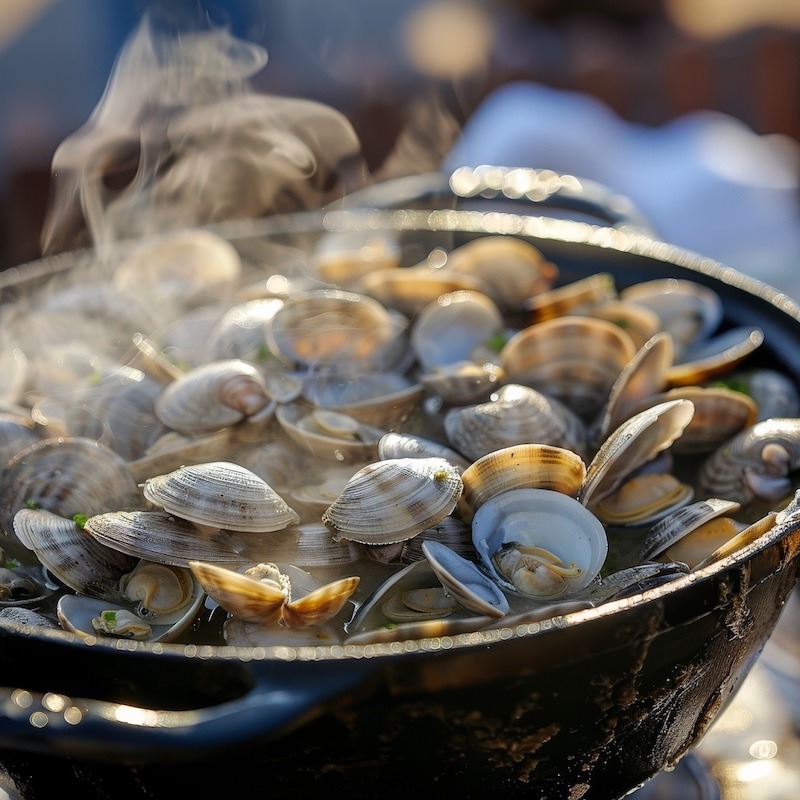
Steamed Clams With Garlic and White Wine
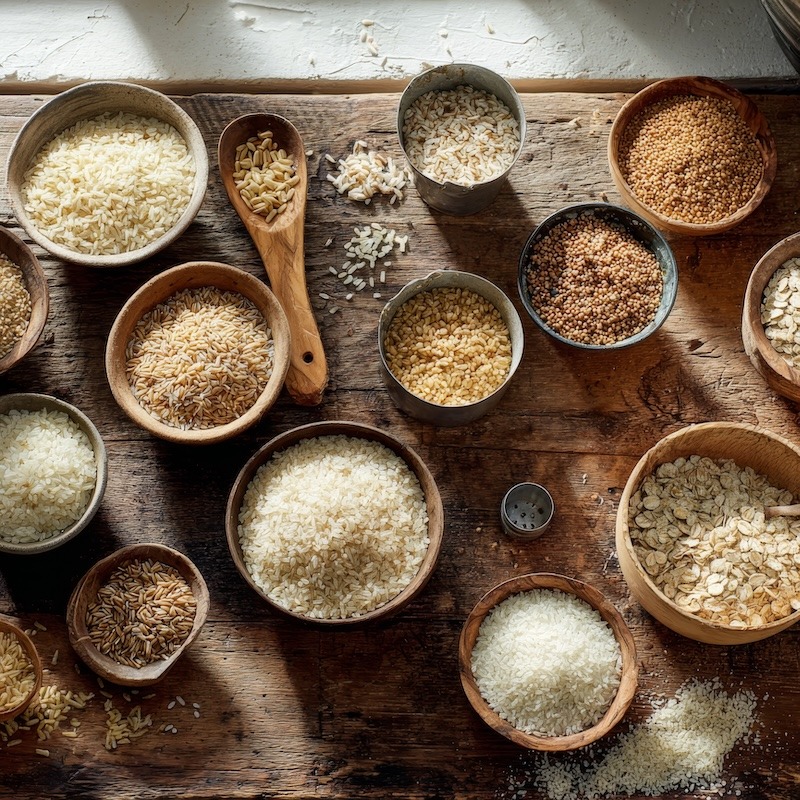
Dry to Cooked Grain Conversions: Water Ratios & Yields
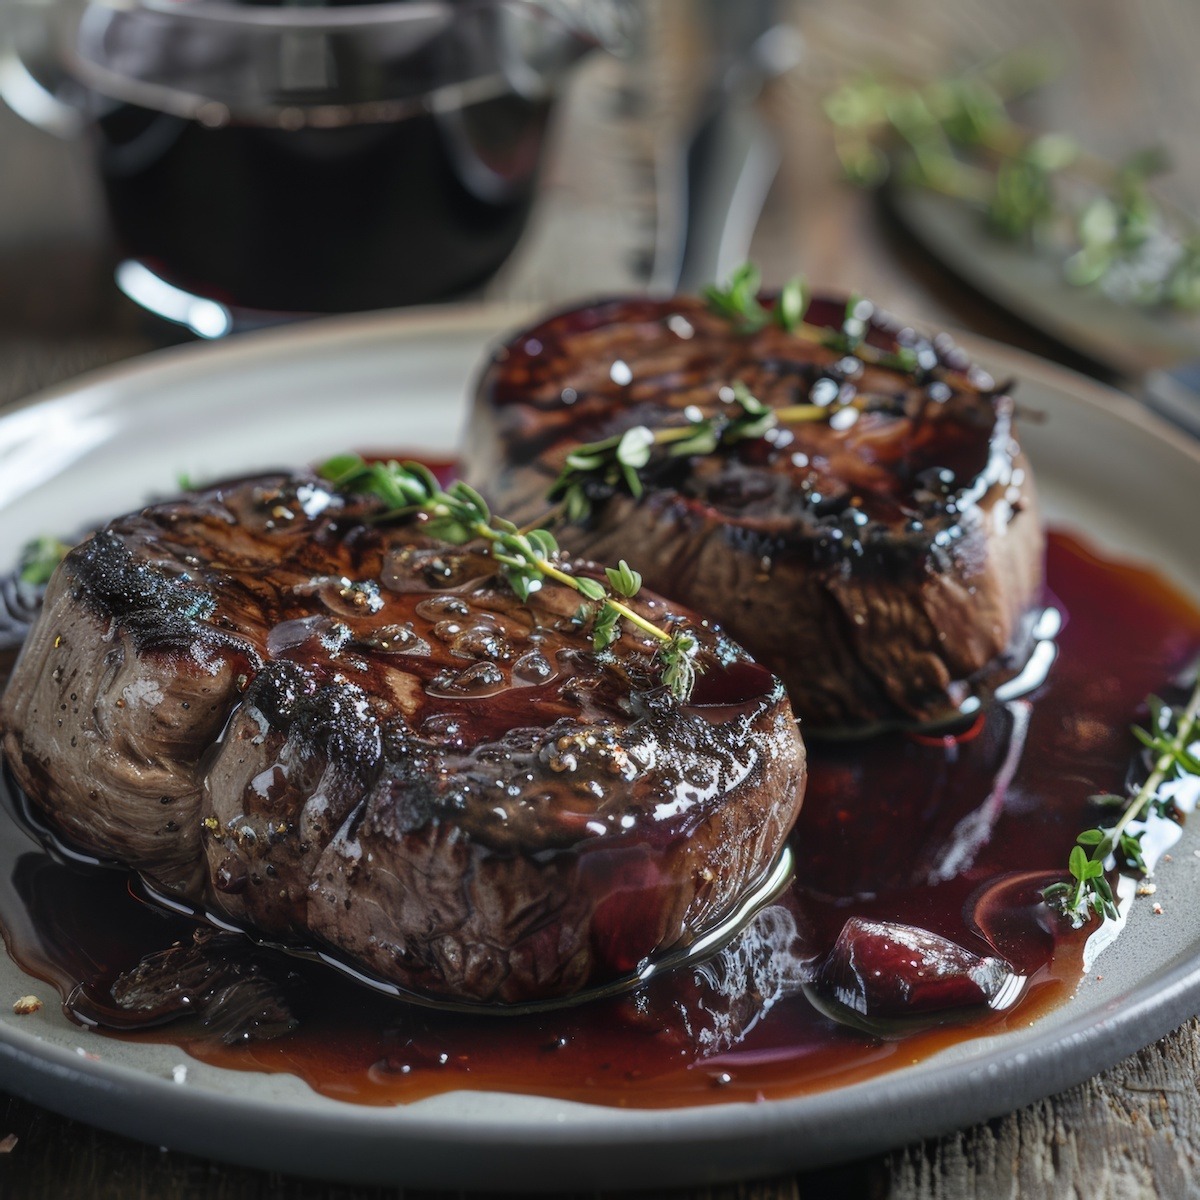
Classic Burgundy Sauce Recipe — Red Wine and Demi-Glace
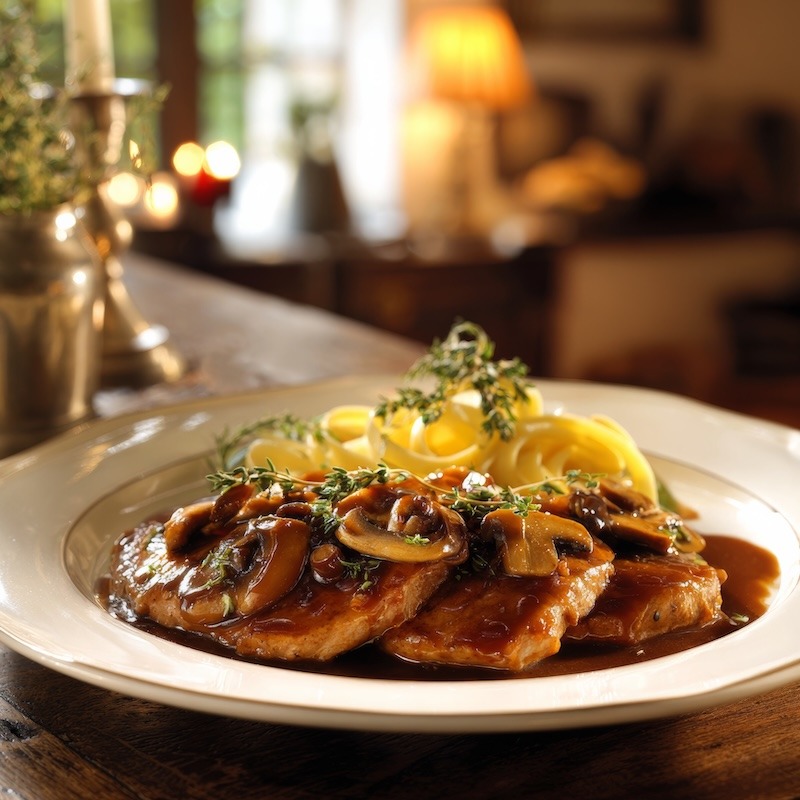
How to Make Veal Marsala the Right Way — Technique & Sauce
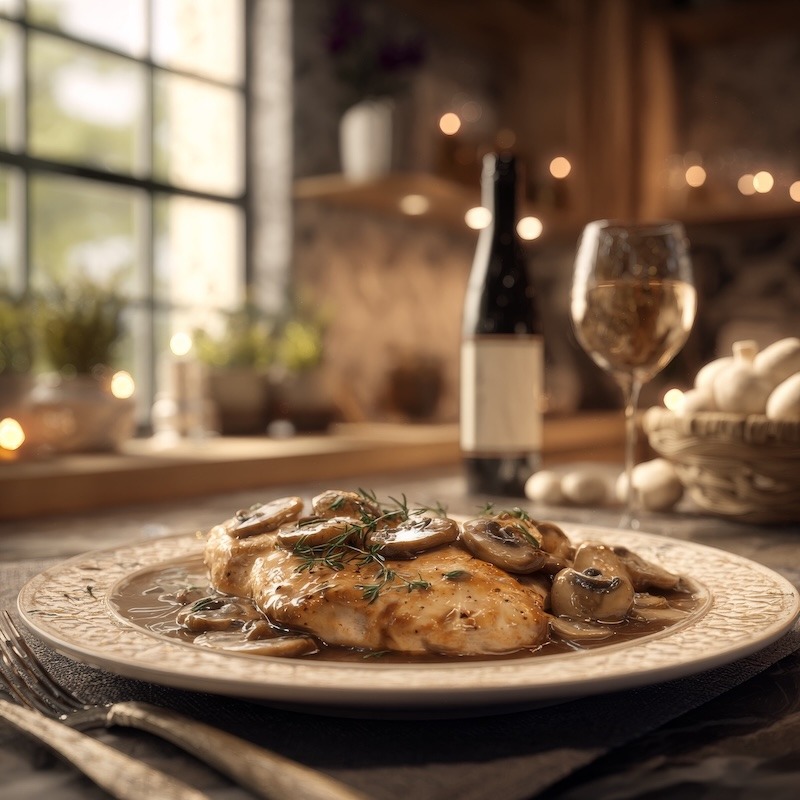
Chicken Marsala Recipe: How to Nail the Sauce Every Single Time
Port Wine Sauce Recipe for Steak, Pork, and Duck
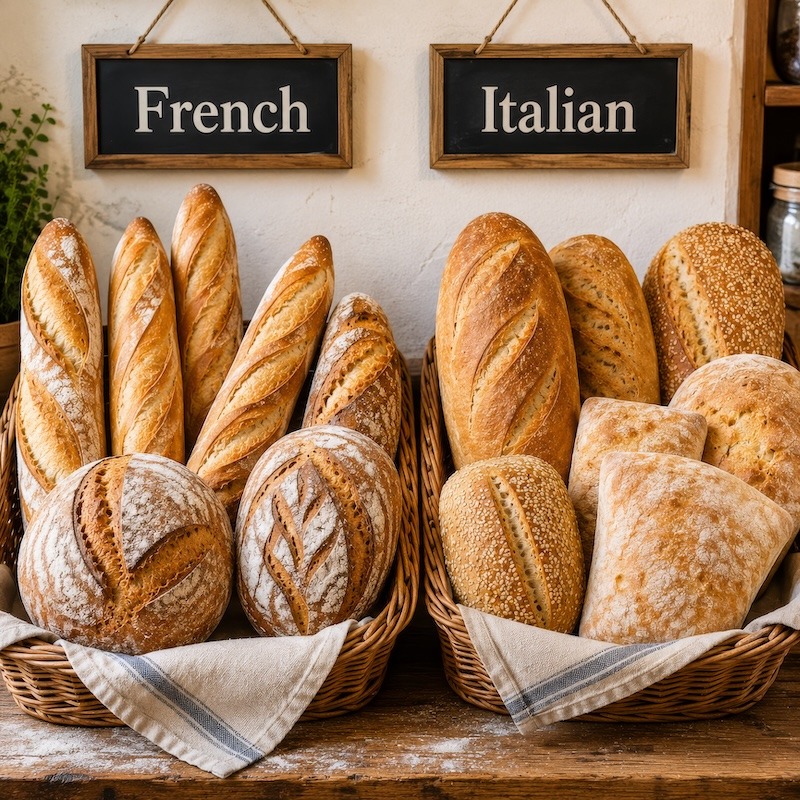
The Differences Between French Bread and Italian Bread
Crispy Spinach Balls Recipe for Easy Appetizers or Sides
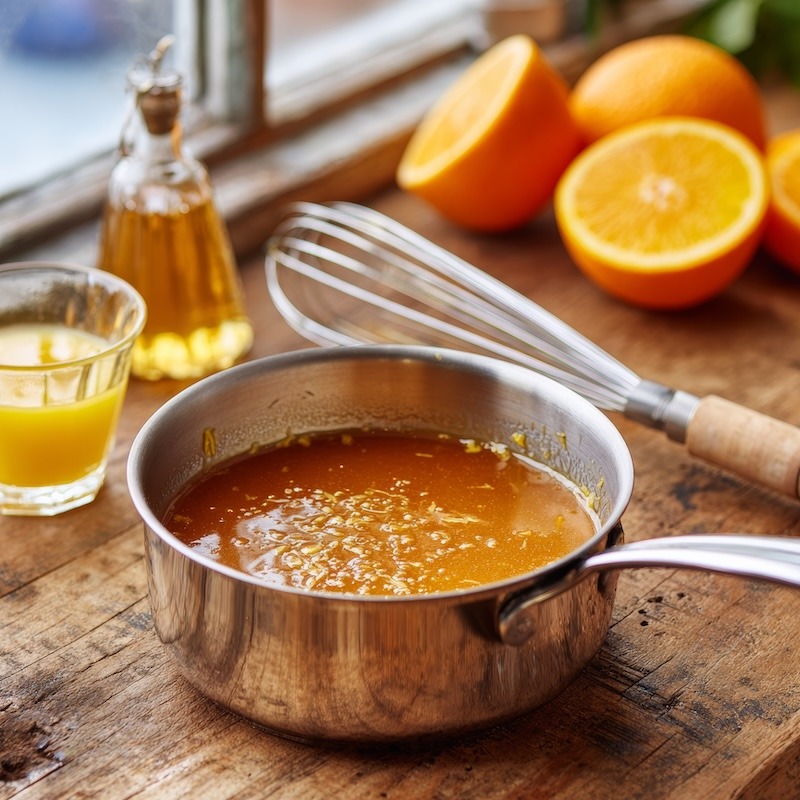
Bigarade Sauce Recipe for Duck, Pork, and Game Birds
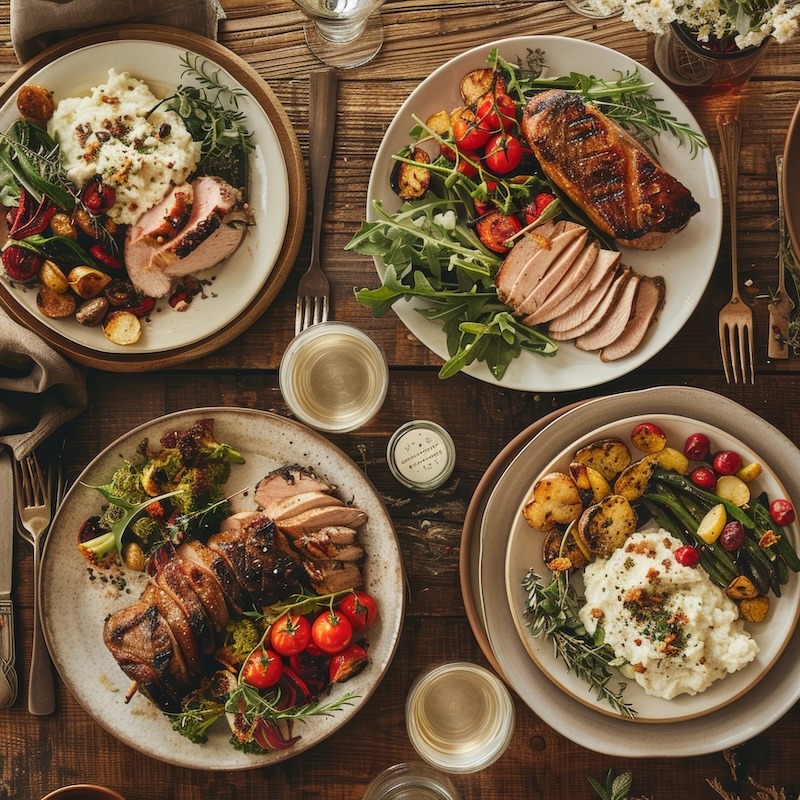
How to Pair Side Dishes With Any Main Dish
What to Eat After a Tooth Extraction Without Making It Worse
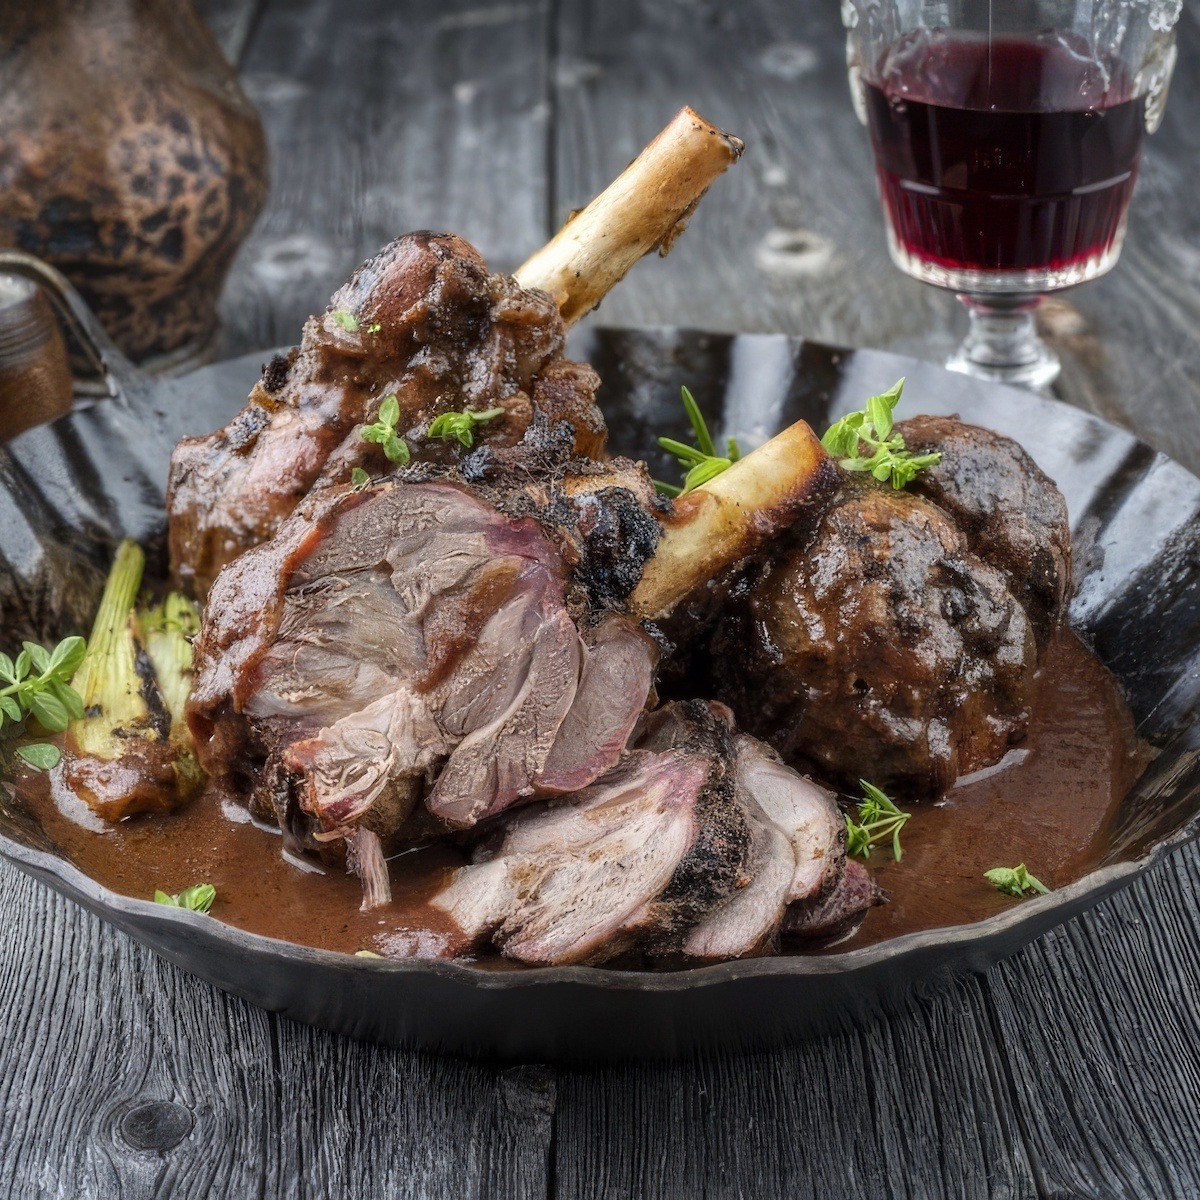
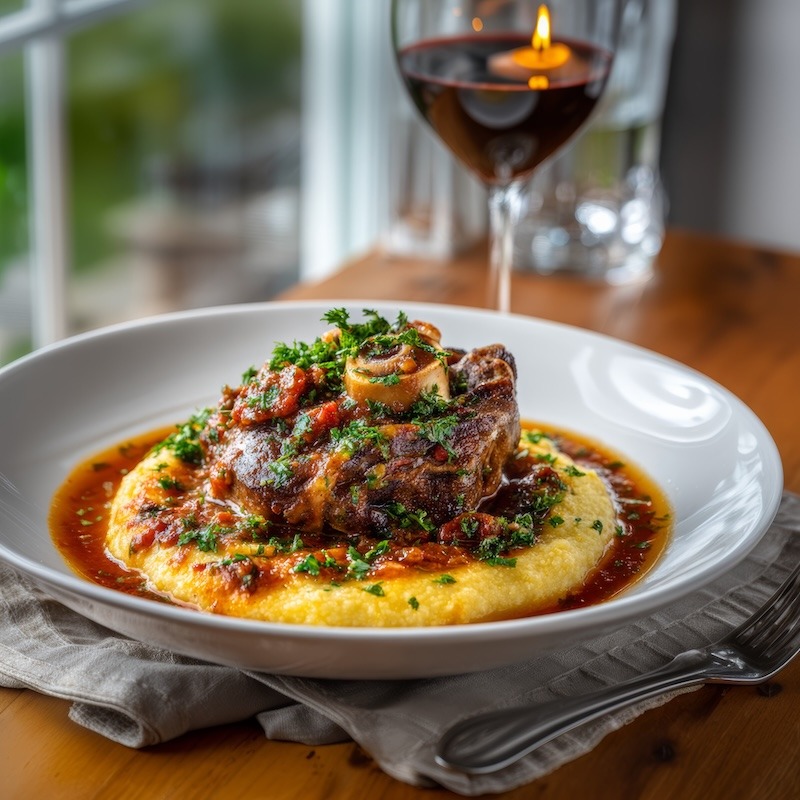
Braised Pork Osso Buco With Rich Tomato Wine Sauce Recipe
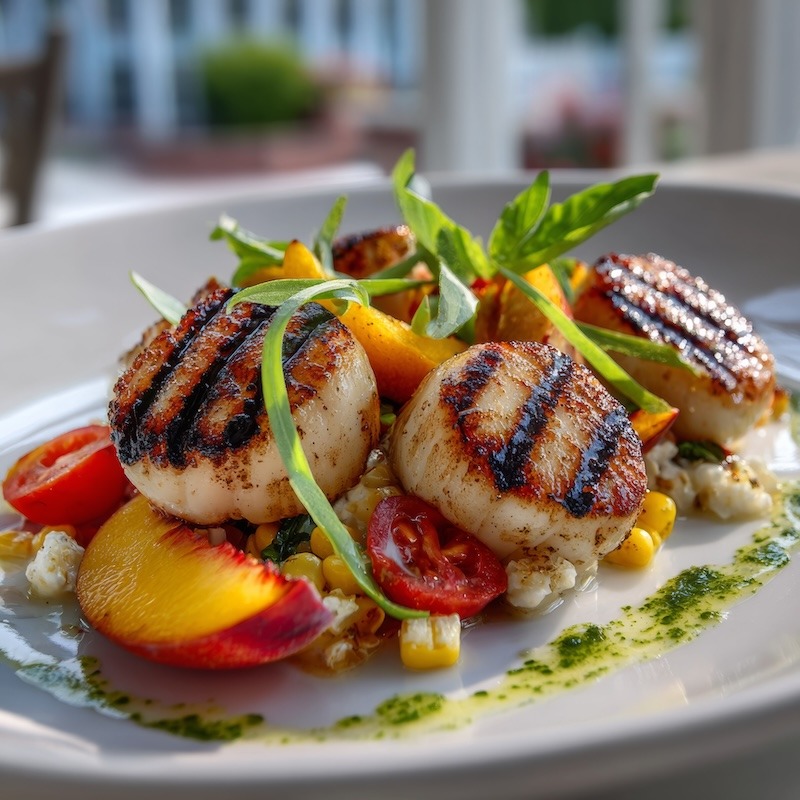
Grilled Scallops and Nectarines with Jersey Corn and Tomato Salad
« Previous
Next »