

Fast Answer
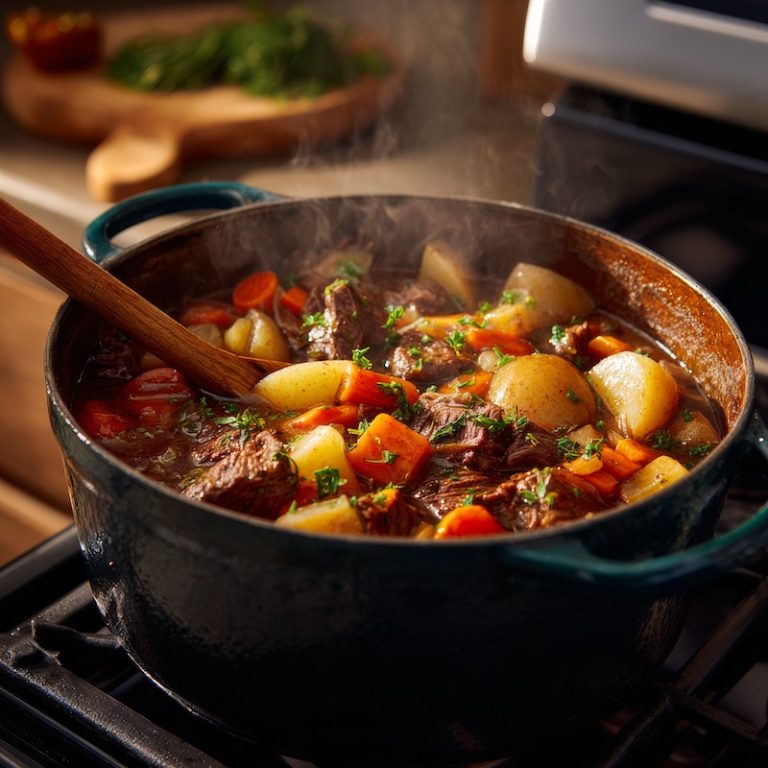
Stewing is cooking tough cuts of meat, fully submerged in liquid, at a bare simmer (185–205°F) until the connective tissue breaks down — usually 2 to 4 hours. Add a second batch of vegetables late, not at the start, or they'll cook out all their own flavor into the broth before the meat is even close to done.
The Smell of Sunday, and a Question I Never Really Answered
There’s a question I’ve been asked enough times that I finally sat down and worked out why it keeps happening: you build a stew with care — good meat, real carrots, a proper onion — and three hours later, the vegetables taste like almost nothing.
It’s not your knife work and it’s not your ingredients. It’s timing. Stewing is a long, slow trade of flavor between everything in the pot and the liquid around it, and whatever stays in longest gives up the most. Here’s how to use that trade instead of losing to it.
Is This You?
- You've made stew before and it came out fine, but the vegetables tasted like flavored water while the meat did all the work.
- You've got a tough, cheap cut of meat — chuck, shank, shoulder — and you're not sure what to do with it besides "cook it a long time."
- Success looks like this: meat that shreds without effort, a broth with real body, and vegetables that still taste like themselves when you bite into them — not just soft shapes suspended in gravy.
What's Actually Happening in the Pot
- Tough cuts are full of collagen — a connective tissue that's rigid and chewy at low temperatures but slowly converts to gelatin between about 160°F and 205°F, given enough time.
- That conversion is why low and slow beats hot and fast. Cook a chuck roast at a hard boil and the muscle fibers seize and toughen before the collagen ever gets the chance to melt.
- The liquid isn't just there to keep things moist — it's the medium everything trades flavor through. Meat gives up fat and gelatin, aromatics give up their oils, and vegetables give up their soluble flavor compounds. Whoever's in the pot longest gives up the most.
Stewing Is a Trade, Not Just a Cooking Time
- The mental model: everything submerged in a stew is exchanging flavor with the liquid the whole time it's in there. Tough meat only gains from that trade — it starts bland and dense, and hours of exchange are what make it taste like anything. A carrot starts out already full of flavor, so the same hours just drain it.
- Once you see it that way, the fix stops being about the vegetable and starts being about when it goes in. An onion, carrot, and celery cooked from the start aren't there to be eaten — they're there to flavor the broth, the same way a sachet of herbs is. Treat them that way and add a second batch late enough to still taste like themselves.
- This is the same logic behind why you don't add fresh herbs at the start of a long braise, or why pasta added early in a soup turns to mush. Long cooking rewards ingredients built to withstand it and punishes ones that aren't.
| Ingredient Type | Recommended Temperature | Typical Stewing Time | Why It Works |
|---|---|---|---|
| Tough Beef Cuts (Chuck, Shank) | 185–200°F (gentle simmer) | 2–3 hours | Extended low heat breaks down collagen into gelatin, creating tenderness and body. |
| Pork Shoulder | 185–200°F | 2–2½ hours | Slow cooking softens connective tissue without drying the meat. |
| Lamb (Shoulder, Shanks) | 185–200°F | 2–3 hours | Fat and collagen render gradually, enriching the stew. |
| Dark Meat Poultry (Thighs, Legs) | 175–185°F | 45–75 minutes | Moist heat preserves juiciness while fully cooking connective tissue. |
| Root Vegetables (second batch) | 180–190°F | 20–40 minutes | Starches soften while absorbing surrounding flavors without dissolving. |
| Legumes (Beans, Lentils) | 180–190°F | 45–90 minutes | Gentle heat prevents splitting and ensures even hydration. |
| Seafood (Firm Fish, Shellfish) | 160–170°F | 5–15 minutes | Best treated as a brief poach in the finished stewing liquid, not a true stew — short time preserves texture. |
Good Fit — and Not
- Use it for: tough, well-worked, collagen-rich cuts — chuck, brisket, shank, short rib, lamb shoulder, chicken thighs and legs (bone-in holds up better than boneless breast).
- Use it for: root vegetables and firm produce that can survive a real cook time without disintegrating — carrots, potatoes, turnips, parsnips.
- Don't use it for: naturally tender cuts like tenderloin, sirloin, or chicken breast — they have little collagen to convert, so hours of cooking only dries and toughens them. Sear or roast those instead.
- Don't use it for: delicate vegetables like leafy greens, peas, or tender herbs — add those in the last few minutes, if at all, rather than treating them like a stewing vegetable.
- Don't use it for: most fish and shellfish — the flesh is too delicate for hours of liquid heat and will fall apart or turn rubbery well before any real flavor exchange happens.
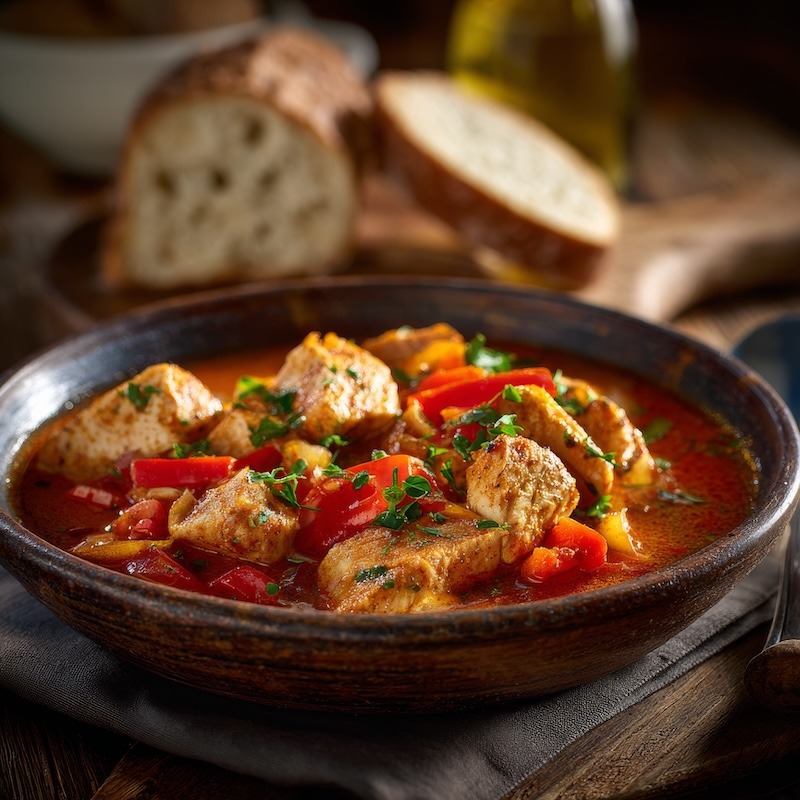
The Method
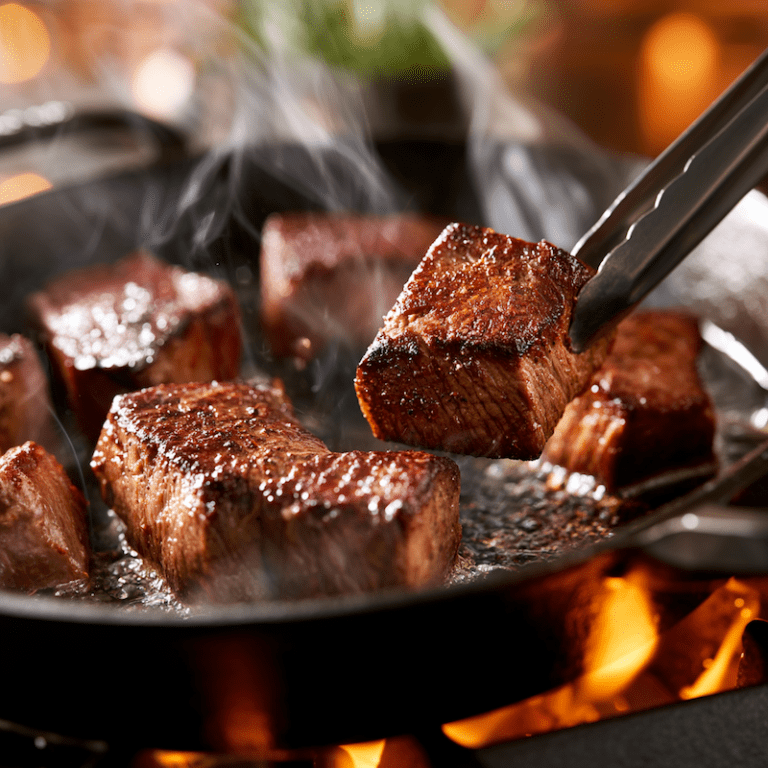
- 1. Cut and dry the meat. Cube it into 1.5–2 inch pieces and pat them fully dry. Look for: no visible moisture on the surface — if it's wet, it will steam instead of brown.
- 2. Brown in batches, don't crowd the pot. Sear hard on at least two sides. Look for: a deep, matte brown crust, and a hard sizzle the whole time. If the pan goes quiet, it's crowded — pull some meat out and finish in batches.
- 3. Build the flavor base. In the same fat, cook onion, carrot, and celery until soft and starting to color, then add garlic and tomato paste for a minute until it darkens slightly. Look for: the paste turning brick-red and smelling toasted, not raw.
- 4. Deglaze and add liquid. Scrape up every browned bit from the bottom of the pot with wine, stock, or water. Look for: the fond lifting cleanly off the bottom — if it's stuck, add a splash more liquid and keep scraping.
- 5. Return the meat, bring to a bare simmer. Liquid should just barely cover the meat. Look for: occasional small bubbles breaking the surface, not a rolling boil. If it's boiling, your stew will toughen before it tenderizes — pull it back to low.
- 6. Cook low and slow, mostly covered. 2 to 4 hours depending on the cut. Look for: a fork slides into the meat with almost no resistance and it starts to fray at the edges. That's the collagen finished converting.
- 7. Add the second batch of vegetables late. Fresh carrots, potatoes, or whatever you want to actually taste — add them in the last 20–40 minutes, timed so they're just tender when the meat is done, not a minute sooner. Look for: a knife meets slight resistance in the center, not none.
- 8. Rest, then taste and adjust. Let it sit off heat for 10–15 minutes before serving. Look for: the sauce coating the back of a spoon and holding a clean line when you run a finger through it.
The Usual Mistakes
- They add all the vegetables at the start because that's what "one-pot" implies — dump everything in together. It feels efficient, but it means the vegetables cook for the same 3 hours the meat needs, long after they've already given up their flavor.
- They turn the heat up because a bare simmer looks like nothing is happening. It's tempting to see a few lazy bubbles and assume the pot needs more heat — but that gentle, barely-there simmer is exactly what a working stew looks like. Crank it and the meat tightens up before the collagen has time to break down.
- They skip browning the meat to save time, not realizing that crust is where a large share of the finished stew's flavor comes from — not the browning itself, but the fond it leaves behind for the deglazing step.
- They pull the meat as soon as it's cooked through instead of cooked tender. Stewing meat is safe to eat well before it's actually good — the texture only turns in the last stretch, when collagen finishes converting to gelatin.
Troubleshooting
- Vegetables taste like nothing → added at the start with the meat → they cooked for hours and gave their flavor to the broth; add a fresh batch in the last 20–40 minutes instead.
- Meat is tough after hours of cooking → liquid was boiling, not simmering → the fibers seized before the collagen could convert; drop the heat and give it more time at a bare simmer.
- Stew tastes flat despite long cooking → meat wasn't browned, or was browned in a crowded pan → little to no fond means little built-in depth; brown in batches next time, and don't skip the deglaze.
- Sauce is thin and watery → too much liquid added up front, or lid on the whole time → reduce uncovered for the last 20–30 minutes, or thicken with a flour or cornstarch slurry.
- Meat falls apart into shreds you didn't want → cooked past tender into overdone → pull it 20–30 minutes earlier next time; "falls apart at a nudge" is the target, not "already in pieces."
- Stew tastes muddy or one-note → aromatics went in with the meat and cooked the whole time → hold back a small amount of fresh garlic, herbs, or a splash of acid (vinegar, wine, citrus) to stir in at the very end.
The Levers You Can Adjust
- Heat: controls whether collagen converts cleanly or muscle fibers seize. Useful range: a bare simmer, 185–205°F — a few lazy bubbles, never a boil.
- Time: controls how tender the meat gets and how much flavor exchanges with the liquid. Useful range: 2 hours for smaller cuts like stew beef cubes, up to 4 hours for larger cuts like whole shanks.
- Liquid amount: controls final sauce consistency and how much the flavors dilute. Useful range: just enough to cover the meat — more liquid means more reducing later to concentrate flavor back.
- Vegetable timing: controls whether vegetables season the broth or keep their own identity. Useful range: aromatics in at the start (meant to dissolve into the base), a second batch in the last 20–40 minutes (meant to be eaten).
- Cut of meat: controls how much collagen you're working with, which determines cook time. Useful range: shoulder, chuck, shank, and short rib all have enough connective tissue to reward long cooking — leaner cuts like sirloin don't and will just toughen.
- Vessel size and lid: controls evaporation rate. A tight-fitting lid keeps the liquid level steady over hours; cracking or removing it near the end lets the sauce reduce and concentrate.
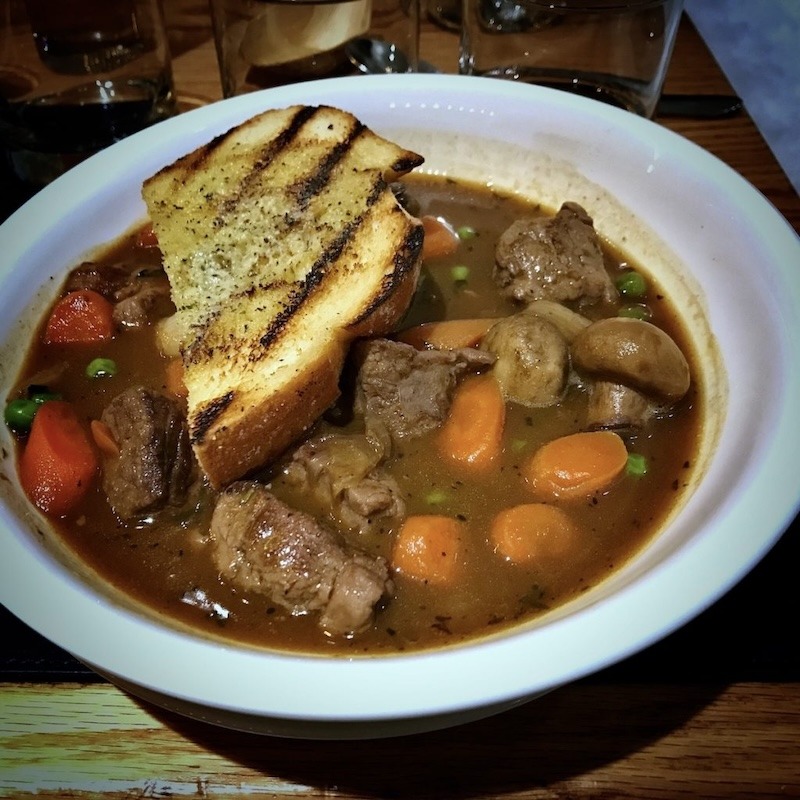
Classic Stews From Around the World
| Stew Dish | Description | Country of Origin |
|---|---|---|
| Boeuf Bourguignon | Beef braised in red wine with onions, mushrooms, and bacon. | France |
| Irish Stew | Lamb or mutton with potatoes, onions, and sometimes carrots. | Ireland |
| Beef Goulash | Beef seasoned with paprika and onions, often with potatoes or dumplings. | Hungary |
| Chili Con Carne | Beef chunks slow-simmered with chiles and spices, built for deep flavor without beans or filler. | Mexico / United States (Tex-Mex) |
| Bun Rieu | Tomato-based crab and pork stew served with rice noodles. | Vietnam |
| Navarin d'Agneau | Lamb with spring vegetables like turnips, carrots, and onions in a light sauce. | France |
| Feijoada | Black beans with pork and beef, flavored with garlic, onions, and spices. | Brazil |
| Tagine | Meat and vegetables slow-cooked with preserved lemon, olives, and warm spices like cumin and cinnamon. | Morocco |
| Khoresht | Meat, vegetables, and herbs with sour notes from lemon or pomegranate. | Iran |
| Cocido | Meats, sausages, chickpeas, and vegetables cooked slowly together. | Spain |
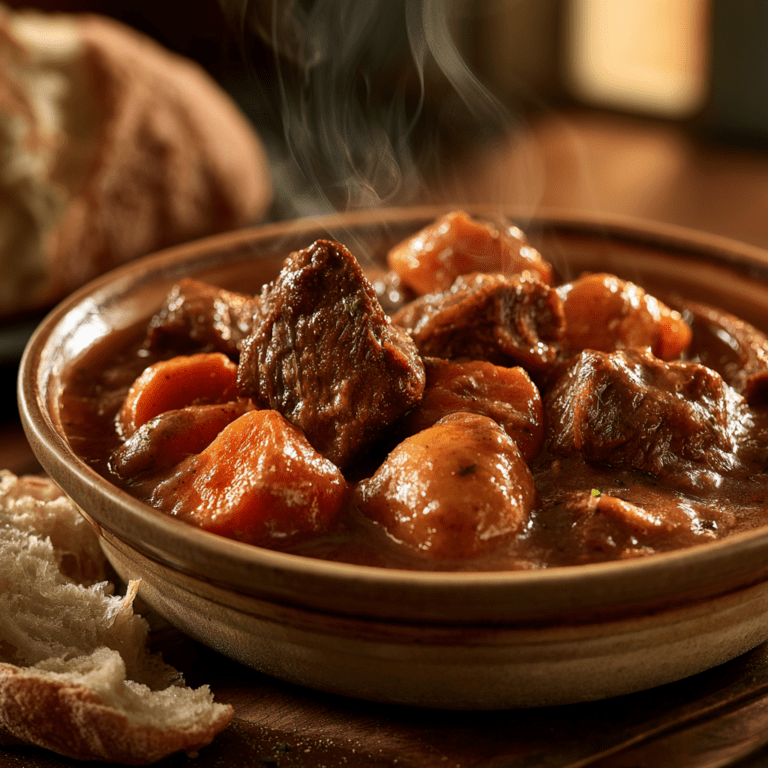
Across Different Ingredients
- Beef (chuck, shank, short rib): the benchmark for this technique — high collagen, forgiving of a slightly long cook, and it holds up to a full 3–4 hours without falling apart into mush.
- Chicken (thighs and legs, bone-in): needs far less time — 45 minutes to an hour at a simmer is usually enough. Push it much longer and the meat turns stringy and dry rather than more tender.
- Pork shoulder: behaves close to beef chuck — plenty of collagen, rewards 2.5 to 3.5 hours, and it's forgiving if you run a little long.
- Carrots and potatoes: this is the exact case from the hook — hold the second batch until the last 20–40 minutes so they finish just tender, still tasting like themselves instead of like broth.
- Beans and legumes: add dried beans early since they need the long simmer to fully soften; canned or pre-cooked beans should go in during the last 15–20 minutes, or they'll turn to paste.
- Ready to put this into practice? Start with this beef stew, which walks through the full method start to finish.
- Want to see the technique applied with a completely different spice profile? Try goulash.
- Same long, slow logic, different pot: chili uses the same collagen-breakdown principle with a beef-and-chile base instead of a classic mirepoix.
- The right pot makes this easier. Here's how to pick a good Dutch oven if you don't already have one.
- Don't want to babysit the pot? A slow cooker can handle the same low, steady heat — just brown the meat on the stovetop first.
- Curious how stewing differs from its close cousin? Read about braising for the side-by-side.
- Not sure which cut to buy? This breakdown of collagen-rich cuts like chuck will point you to the right one before you're even at the meat counter.
- Sauce too thin at the end? Here's how to make a slurry to fix it fast.
Frequently Asked Questions About Stews
Why do my stew vegetables have no flavor even though the stew itself tastes great? Because they cooked for the same 2–4 hours the meat needed, and their flavor compounds are water-soluble — they diffused into the broth long before the meat was done. Add a second batch of vegetables in the last 20–40 minutes instead of at the start, and they’ll taste like themselves.
What temperature should a stew simmer at? A bare simmer is roughly 185–205°F — a few small, lazy bubbles breaking the surface, never a rolling boil. If you don’t have a thermometer, go by sight: occasional bubbles, not constant motion.
Do I have to brown the meat first? Not technically, but skip it, and you’re leaving real flavor on the table. The browned crust creates fond in the bottom of the pot, and deglazing that fond is where a lot of a stew’s depth comes from.
Why is my stew meat still tough after 2 hours? Most likely, the liquid was boiling rather than simmering, which tightens the muscle fibers before the collagen has time to convert to gelatin. Drop the heat and give it more time — tough stew meat usually needs more time, not less.
Can I make stew in a slow cooker instead of on the stove? Yes — the same principles apply. Brown the meat and build the flavor base on the stovetop first if your slow cooker allows it, then transfer everything to cook on low. Still hold back a second batch of vegetables to add later in the cycle.
How do I thicken a stew without it tasting like flour? Make a slurry — equal parts flour or cornstarch and cold water, whisked smooth — and stir it in during the last 20 minutes, letting it simmer a few minutes to cook out the raw taste. Alternatively, just reduce the liquid uncovered near the end.
Is stewing the same thing as braising? Close, but not identical. Braising typically uses a larger cut of meat only partially submerged in liquid, often finished in the oven; stewing uses smaller, uniform pieces fully submerged, usually finished on the stovetop. The underlying science — collagen converting to gelatin over low, slow heat — is the same either way.
What’s the best cut of beef for stew? Chuck is the standard for a reason — well-marbled, full of collagen, and forgiving if you run it a little long. Shank and short rib work well too, especially if you want extra body in the sauce from the bone.
Can I stew frozen meat? You can, but you’ll lose the browning step’s flavor because the surface won’t sear properly while thawing. Better to thaw first, even just partially, so you can pat it dry and get a real crust.
2 Responses
This was very helpful! Thank you!! 🙂
So helpful! Making stew has always been a challenge for me.