What Does It Take To Become a Better Griller
Although grilling has long been thought of as the “man’s domain,” there are plenty of reasons why both men and women would want to get out in the sunshine, drink a cold, frosty beverage, and do some grilling. So today I’m going to show you how to grill by looking at common grilling mistakes.
Consider the extra energy it takes to cool the house in the summertime when the oven and stove are both on. Save some money and take the heat outside.
One of the most compelling reasons to grill, however, might be the social perks. Families and friends are often so busy that nobody eats together anymore. Pull out the grill, though, and everybody gathers around.
Grilling brings family and friends together. Whether you are cooking on a gas grill or a charcoal grill, get out there and get grilling.
Grilling is not only one of the oldest forms of cooking, it also has great benefits in today’s world as well. Grilling is a direct heat, dry cooking method that, when done correctly, can result in a perfectly seared exterior and a moist and juicy interior.
Grilling is a quick cooking method and a very healthy way to cook. It requires very little added fat, and it makes food taste wonderful. As an added bonus, foods can acquire those professional-looking grill marks—the marks that set you apart as the Master of the Grill.
Unfortunately, for every beautiful piece of grilled fish, meat, fruit, or vegetable pulled off the grill, countless pieces have come to an overcooked and unsightly end, all because the cook was practicing how NOT to grill. This section will lead you through all the mistakes people can make when grilling and how to avoid them.
Grilling over gas and grilling over charcoal are two entirely different experiences. Grilling over gas is like cooking in the house on a gas stove, except you are outside.
It’s easier and faster to cook on a gas grill, but the grill racks can only be as hot as the grill is rated in BTUs. This is great for lots of items that don’t need a hot grill and perfect when you are in a hurry, but it is not so good if you want that authentic smokey flavor.
Grilling over charcoal takes a little bit longer to get the fire started and get the grill hot, but once it’s ready to go, you can control the heat by adding more coals or moving them into a confined area.
Not everything you cook needs such intense heat, but it’s nice to have when you need it. Using natural charcoal also produces smoke, which is an added benefit.
These tips work for gas or charcoal grills. Whatever method you use at your house, following these tips will make you a better griller.

Grill Tips For the Best Possible Outcomes
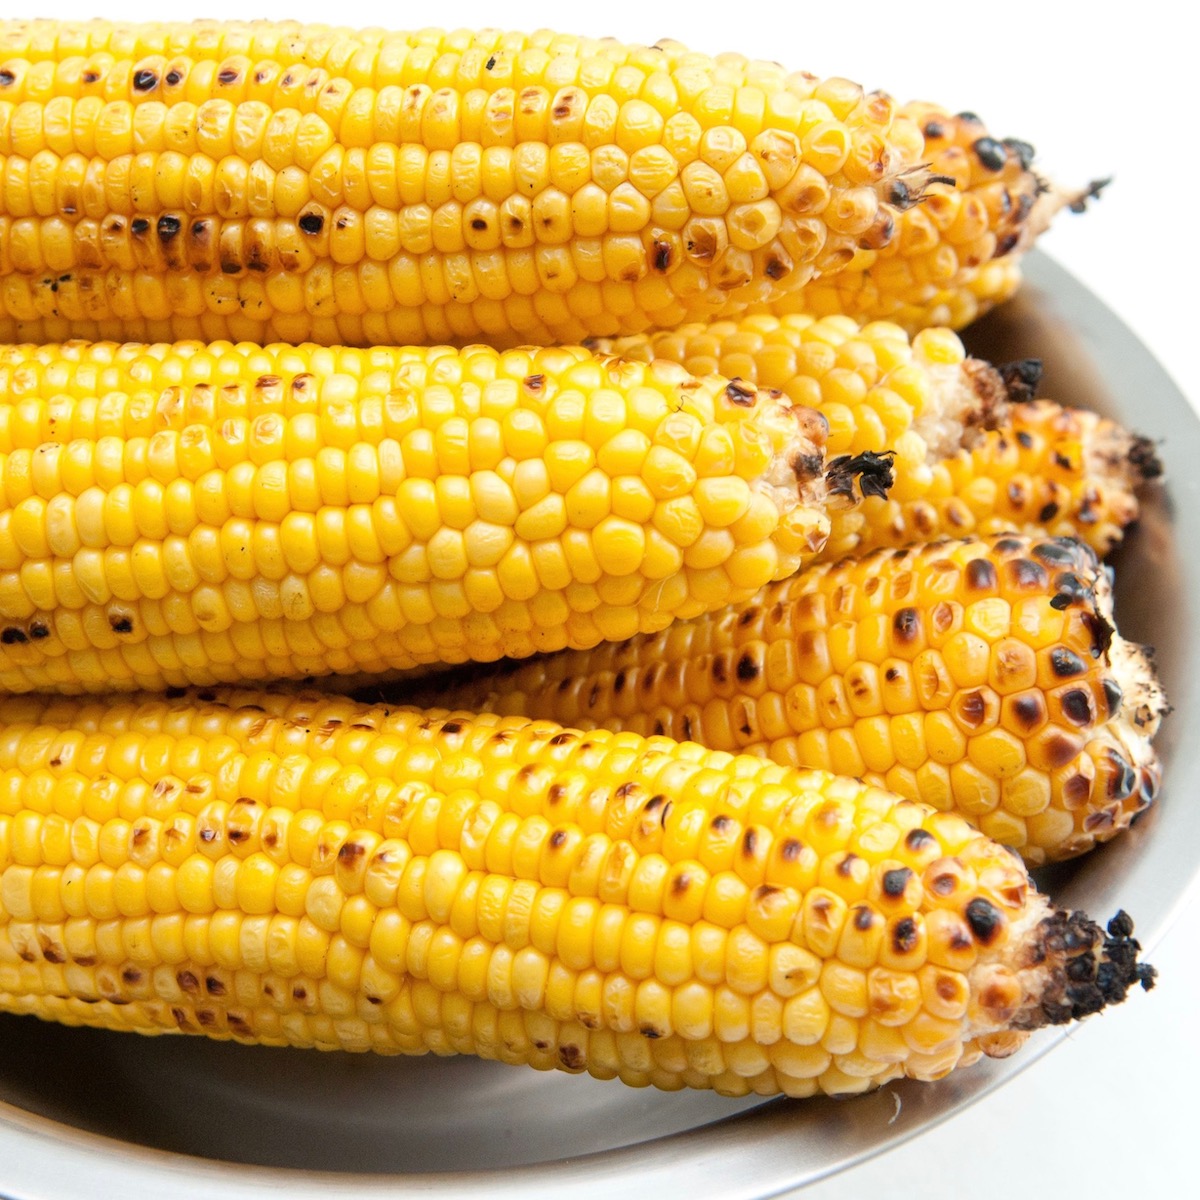
Use the Right Grill For the Job
You have a great gas grill and want to use it for everything. Texas-style barbecued brisket, you think. Understand that my official definition of barbecue is meat cooked very low and very slow with hot smoke from an indirect source.
Gas grills are great for high heat and zone grilling, but they don’t do low and slow very well, and they don’t make smoke. Okay, you think—smoked salmon. Again, a gas grill isn’t made to smoke. You can make it smoke, but that’s not what it is designed for.
If you have your heart set on smoking meats, or vegetables for that matter, I wish I could tell you that there is a way to convert your gas grill, and there might be, but honestly, it is best to get the right tool for the right job. Buy a smoker.
Avoid Self Starting Charcoal If You Can
Self-starting briquettes seem so easy to use. Just light them with a match. That’s it. And if they are hard to light, squeeze on some lighter fluid.
No problem, right? Wrong.
Briquettes are made primarily of charred wood and coal, and they are held together with starch binders. They contain lime (which turns white and lets you know when your coals are ready) and are sprayed with an accelerant (lighter-fluid) to make them light easily.
One problem with using briquettes is that people don’t wait until the coals are completely ready before putting the food on the grill. Some of the impurities used in producing the briquettes are then cooked into the food.
Although briquettes do burn longer, for the sake of your health and flavor, I recommend using natural lump charcoal for grilling. You don’t need any lighter fluid to light it. All you need is a $10-$15 chimney starter, available at any hardware or home improvement store.
Crumple up 2 full sheets of newspaper. Put these in the bottom of the chimney starter, under the grate. Fill the chimney with the lump charcoal, and then light the paper.
Place the chimney on the bottom (small) grate of your charcoal grill, and wait until the coals are glowing cherry red. This will not take long at all.
The first time I used a chimney starter, I was amazed at how efficient it is. Handle the chimney starter with heavy-duty gloves, and make sure you have a heat-proof surface to put it on after the coals are hot and you’ve put them in the grill.
Start with a Clean Grill
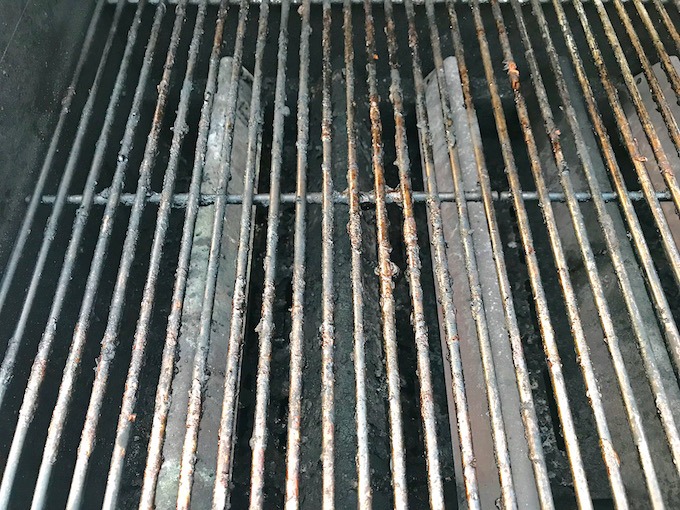
Nothing makes grilling less fun than opening the cover and finding a messy grill with the racks caked with barbecues past. I’ve seen grills so impenetrable with a baked-on gooey barbecue sauce that I’m surprised the heat can get through the rack.
And how about when in the middle of grilling, the grease stuck to the sides of the grill, and the grease trap catches fire, only to make your grilling experience even more challenging?
Keep your grill clean! It allows the heat to transfer better, prevents fires, and makes you feel like a better cook. What is the best way to start with a clean grill? Finish with a clean grill.
When the grill is hot, it is much easier to clean, so be sure to pull out your grill brush and clean it before heading inside to eat.
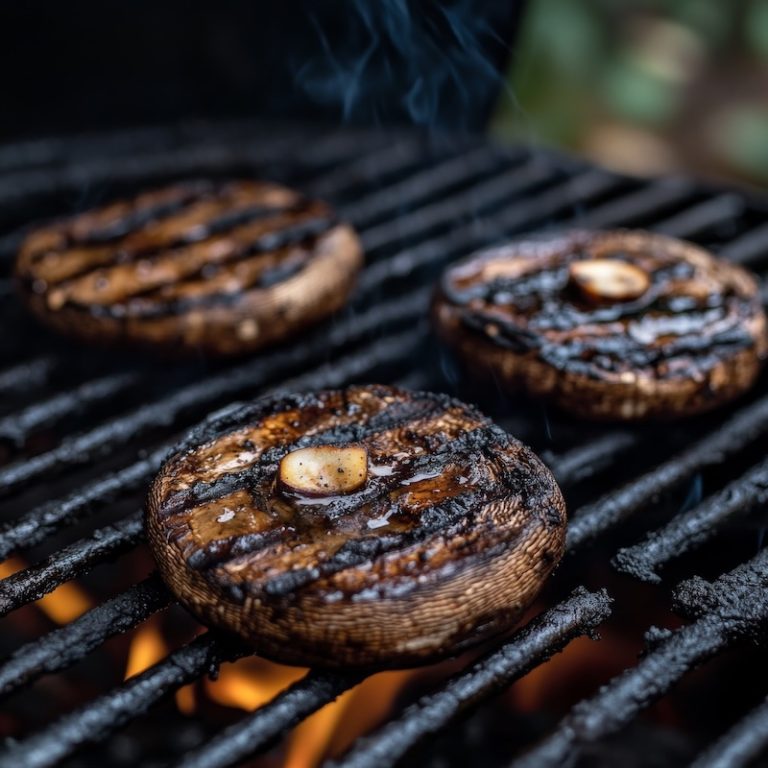
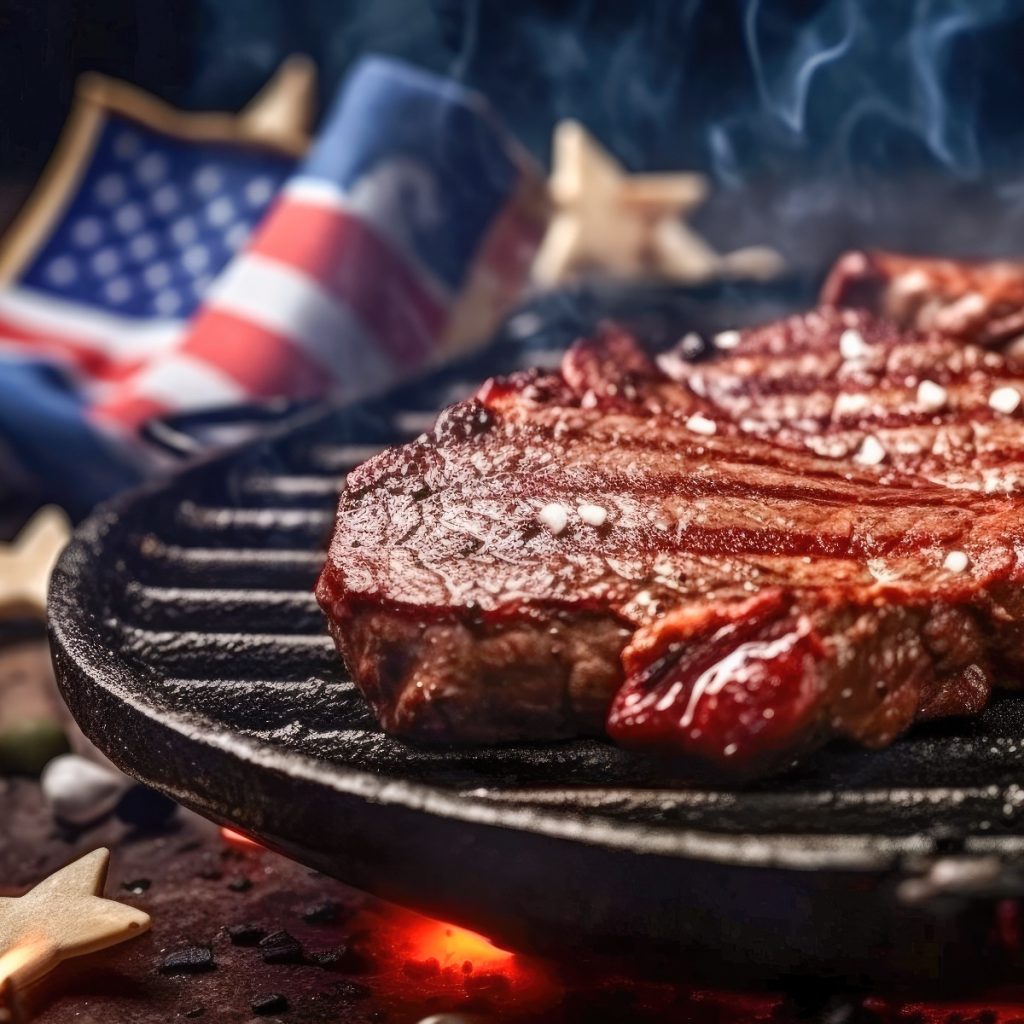
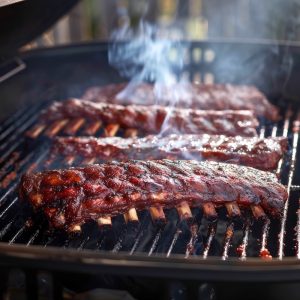
Get the Grill Hot Before You Start
Many of us wait until the last minute before starting the grill. This isn’t as critical with a gas grill as a charcoal grill, since you only have to turn on the gas and ignite, but do you give the grill grates enough time to get hot.
More often than not, I find myself rushing to get the grill started before it has time to really get hot, slamming the burgers, strip steaks, or salmon steaks onto the grill before the grates have had time to get hot and then wonder why everything is sticking.
Not everything you cook needs the grill to be super hot, but most of the time, you’ll be starting on an extremely hot portion of a grill to sear what you are cooking and getting those beautiful grill marks and then moving the meat or fish over to a less hot side of the grill. If you don’t start with a hot grill, you won’t get the sear or the marks you may be looking for.
And remember, when you add ingredients to the grill, they absorb heat and cool down the grill. So if you add eight burgers and six hotdogs simultaneously, don’t be surprised when the grill loses some heat.
The best way to prevent this from happening is to start with a hot grill or a hot portion of it.
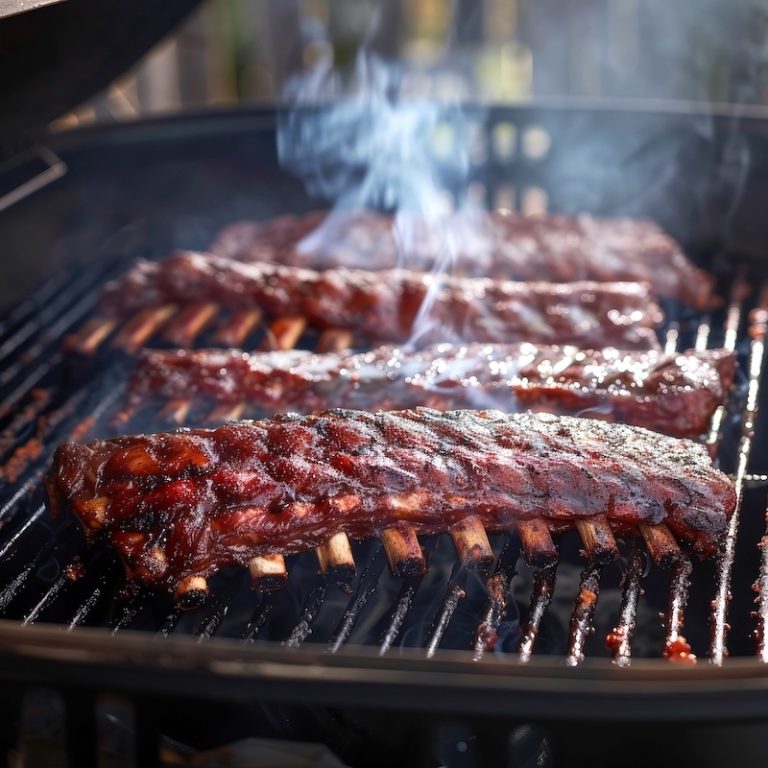
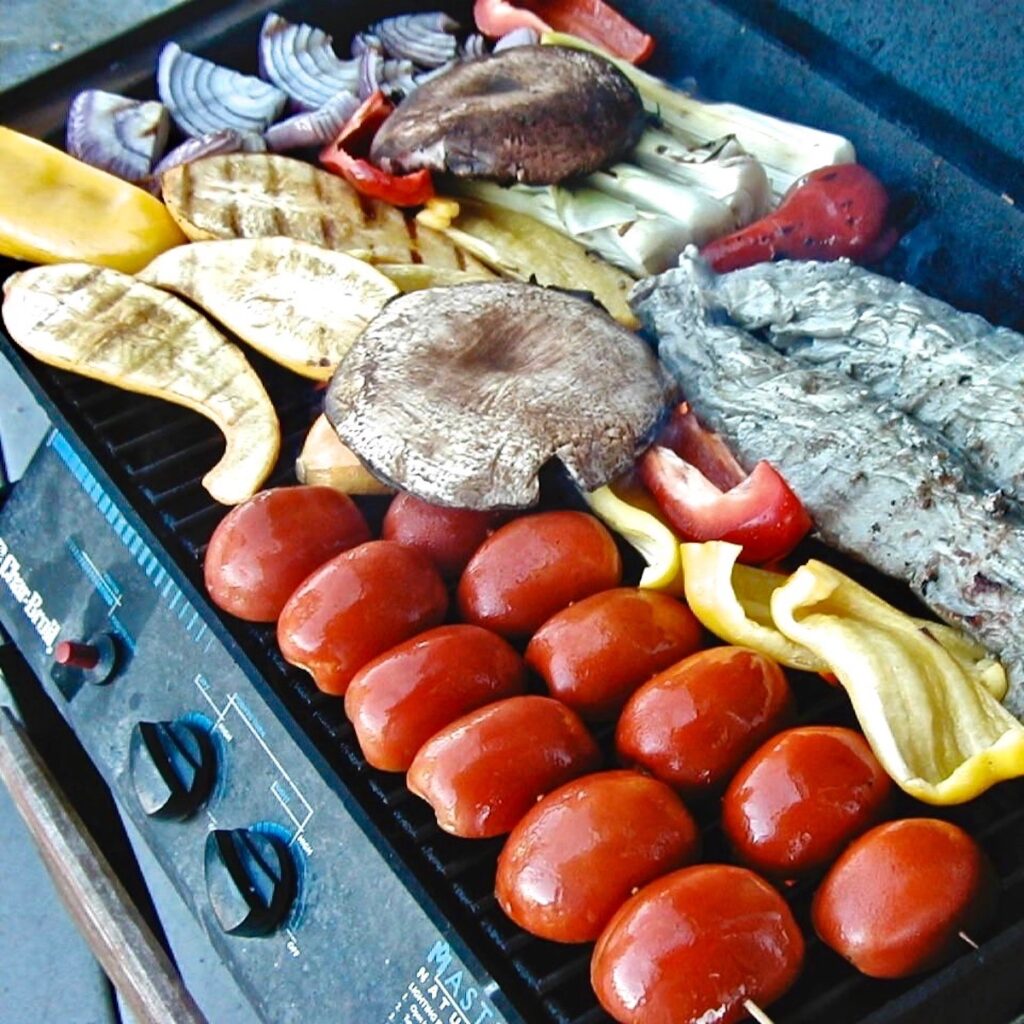
Create Grill Zones to Control the Heat
I don’t remember my dad ever teaching me about grill zones when I was a kid watching him burn and overcook just about everything he put on the grill. God bless him, but I remember what came off the grill as being too charred, a little well done, and having a distinctive lighter fluid taste.
He would get his fire hot with Kingsford charcoal briquets, throw the meat on the grill’s hot spot, and cook until done. No heat zones are required here, but now we know there is a better way.
It doesn’t matter if you are using a cheap charcoal grill or an overpriced stainless steel gas grill; most experts will tell you using a 2-Zone setup is the way to go when grilling. All this means is you set up your grill to have a hot side for direct radiant heat and a less hot side for indirect convection heat. Often the indirect convection heat side is no heat at all.
Depending on what you’re cooking, you may start on the direct heat side for a quick sear and then finish cooking on the indirect side, think steaks, or more often, you may start on the indirect heat and finish over the direct heat, think chicken and ribs.
And if you are cooking several things on the grill simultaneously, some items may require a slow indirect heat so as not to end up like my dad’s charred, overcooked chicken thighs, but you may want to cook the vegetables on the direct heat to cook quickly.
On a gas grill, start by turning all the burners up high to get the entire grill and chamber hot and then turn off one side – left or right or front or back, depending on your grill. If you are using charcoal, have all the coals on one side and one on the other side for indirect heat.
If your charcoal grill is big enough, you can set up three zones for hot, medium, and low heat and really get serious about your grilling.
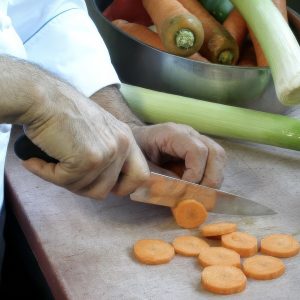
Get Your Ingredients Ready For the Grill
There will be times when all you have to do is season some steaks with salt and pepper and throw them on the grill, but did you remember to take them out of the refrigerator 15 to 25 minutes before you start grilling? Grilling foods, especially meats, is much more efficient when they start out at room temperature.
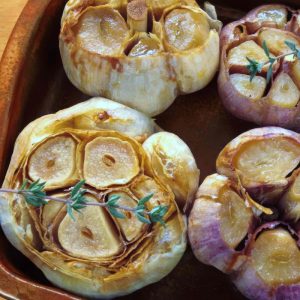
What about brines, marinades, and rubs? Are you planning on using any or all of these techniques? Brines are popular now. The idea is to soak poultry and lean meats like pork in a salty solution to help them hold their moisture, resulting in juicy, tender food.
How long you brine your ingredients depends on what you are cooking, but remember to rinse off the brine before cooking, or you may end up with over-salty results.
Marinades are used for tougher cuts of meat, so think of meats you will be grilling on indirect heat. Marinades usually have an acetic element like wine, vinegar, fresh herbs, and spices. Oil is another popular ingredient used in marinades.
Depending on the cut of meat, marinades can take as little as 30 minutes, but you’ll usually do better if you marinate overnight in the refrigerator.
Rubs are blends of spices and herbs applied to foods before grilling to give them more flavor. If a liquid is used like an oil, it is called a wet rub; otherwise, if no liquids are added, it’s called a dry rub.
An excellent example of a popular rub is Cajun rub, which might include pepper, dried thyme, garlic powder, onion powder, cayenne pepper, and salt. Like a marinade, rubs can be added 30 minutes before cooking or the night before so the spices can permeate the meat.
So, depending on what you are cooking and what you plan to use to add extra flavor, remember to plan ahead so you’re not scrambling at the last minute.
Grease the Grill
No one likes their meat sticking to the grates when grilling. Unfortunately, I’ve left the skin on the grill too often when grilling chicken. One way to help prevent this is by greasing the grill before starting.
Some say you should only use a wadded paper towel dipped in oil and applied to the grates with tongs, but I still like spray oil. Either way, if your grill is clean, hot, and greased before you start cooking, you have a better chance of not having any sticking problems.
You don’t have to grease up the grill if you are cooking something marinated in oil or using an oil-based rub. So it’s redundant. What type of oil, you ask?
As I said earlier, I typically use Pam or some generic version, but if I were using oil on a paper towel, I’d most likely use Canola, Grape Seed, or Safflower Oil. There’s no reason to use expensive olive oil to lubricate a grill. It loses its expensive taste when it hits the hot grates.
Use Heat Zones
Just as you turn your knobs on your stoves up or down depending on if food is cooking too quickly or slowly, you should practice modulating the heat on your grill.
While it is not convenient or even feasible to turn the heat up or down on the grill or to try to add or remove coals if you are using a charcoal grill, it is possible and recommended that you have three heat zones on your grill.
On a gas grill, this is as simple as setting the grill dials to high, medium, or low. On a charcoal grill, it requires some pre-planning.
One zone will be set up for high-heat cooking—the sear on the outside of your meat. In this zone, you want your charcoal to be very close together and piled two high.
You will use the middle zone for the bulk of the cooking, with the lid down. In this zone, set up the charcoal evenly spaced and in one layer.
Don’t put any charcoal in the third zone. This will be the area where you move the meat to finish off cooking slowly. Remember, for thin food, zone grilling is not so much of an issue, but if you are going to be grilling larger cuts, use the zone method.
Sear and get your grill marks in Zone 1, do the bulk of the cooking in Zone 2, and let the meat “coast” in Zone 3.
Don't Crowd the Grill
One of the most prevalent mistakes home cooks make when grilling is adding too many items to the grill and expecting good results. Tip #3 talks about creating grill zones for direct and indirect cooking, but there’s no room for two zones if you overcrowd the grill from the start.
If you add too much to the grill and have a flare-up, there’s no place to move the food. And let’s face it; if you cook foods that start dripping fatty juices, you will have flare-ups.
No way around this, so you want to make sure you have a cooler part of the grill to move these foods over to.
Another reason to not overcrowd the grill is similar to not overcrowding a frying pan when cooking inside. The more you add to the grill, the more heat you remove from the grates. If you remove too much heat, the meats will steam instead of developing the desired grill marks, and the end results will be terrible.
If you don’t have a big enough grill for a large group, cook in stages or borrow a neighbor’s grill but be prepared to stay very busy at the grill.
Don't Play with Your Food
My girls used to watch the movie Lion King repeatedly when they were little, and there was a line in it when Zazu says to Scar, “Didn’t your mother ever tell you not to play with your food?”
It’s true regarding grilling and a mistake many home cooks make. They can’t help themselves from constantly fiddling with what they are cooking – moving food around, poking it, flipping it, pressing down on it.
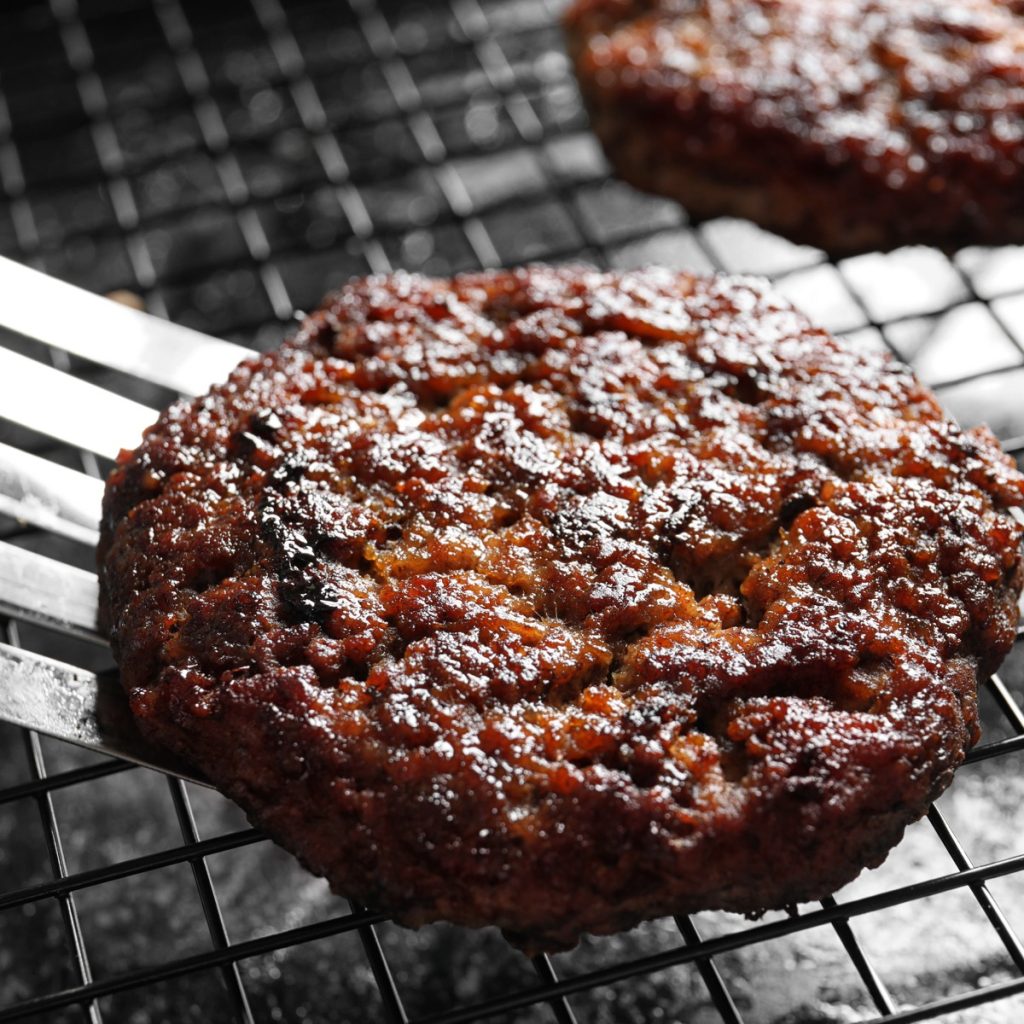
What gives most foods you grill so much flavor is the caramelization that takes place when the food is seared and left alone.
Of course, you have to flip what you are cooking at least once to cook both sides and if you use the two-zone technique mentioned previously, you’ll move the food again but try to resist the urge to give it a poke or constantly flip. Instead, let it develop the wonderful flavors available from grilling.
Don't Stab at Your Food
When you went to the store to get your grill, the salesman up-sold you with a nice set of long-handled grilling tools. You got tongs, a really long fork, a really long spatula and a grill brush.
The first time you grill and it’s time to turn the meat, you reach for the really long fork, stab the meat, and turn it over. You have a lot of mysterious flare-ups, and after checking the temperature with your instant-read thermometer and letting it rest the appropriate length of time, you are surprised when you cut into it to find dry, tasteless meat.
Throw the fork away. Always use a spatula or tongs to turn food on a grill. After all, once the meat is dead, it’s dead. No need to kill it again.
Although we know that searing doesn’t really lock in the juices, stabbing the meat with a fork or a knife will allow the hot juices to run out. And once, they’re gone, they’re gone.
Don't Flatten Your Food
“If he won’t let me use my fork, I’ll use my spatula! I’ll just press this chicken breast down so it makes better contact with the grill.”
Wait a minute, do you hear that increased sizzle and see the flare-ups? That sizzle is not the satisfying sound of grilling meat; it is the sound of juices pressed out with the spatula. The result: dry, tasteless meat.
Spatulas are made for turning, not pressing. Do not put the spatula down until it is time to turn the food.
Your food comprises cells that you have taken great pains to keep full of flavorful juices. You might even have introduced more juice and flavors through brining and/or marinating.
Now the food is like a sponge – full of flavor and juices. The last thing you want to do is squeeze them all out by pressing on the food. Just leave it alone.
Don't Walk Away From the Grill
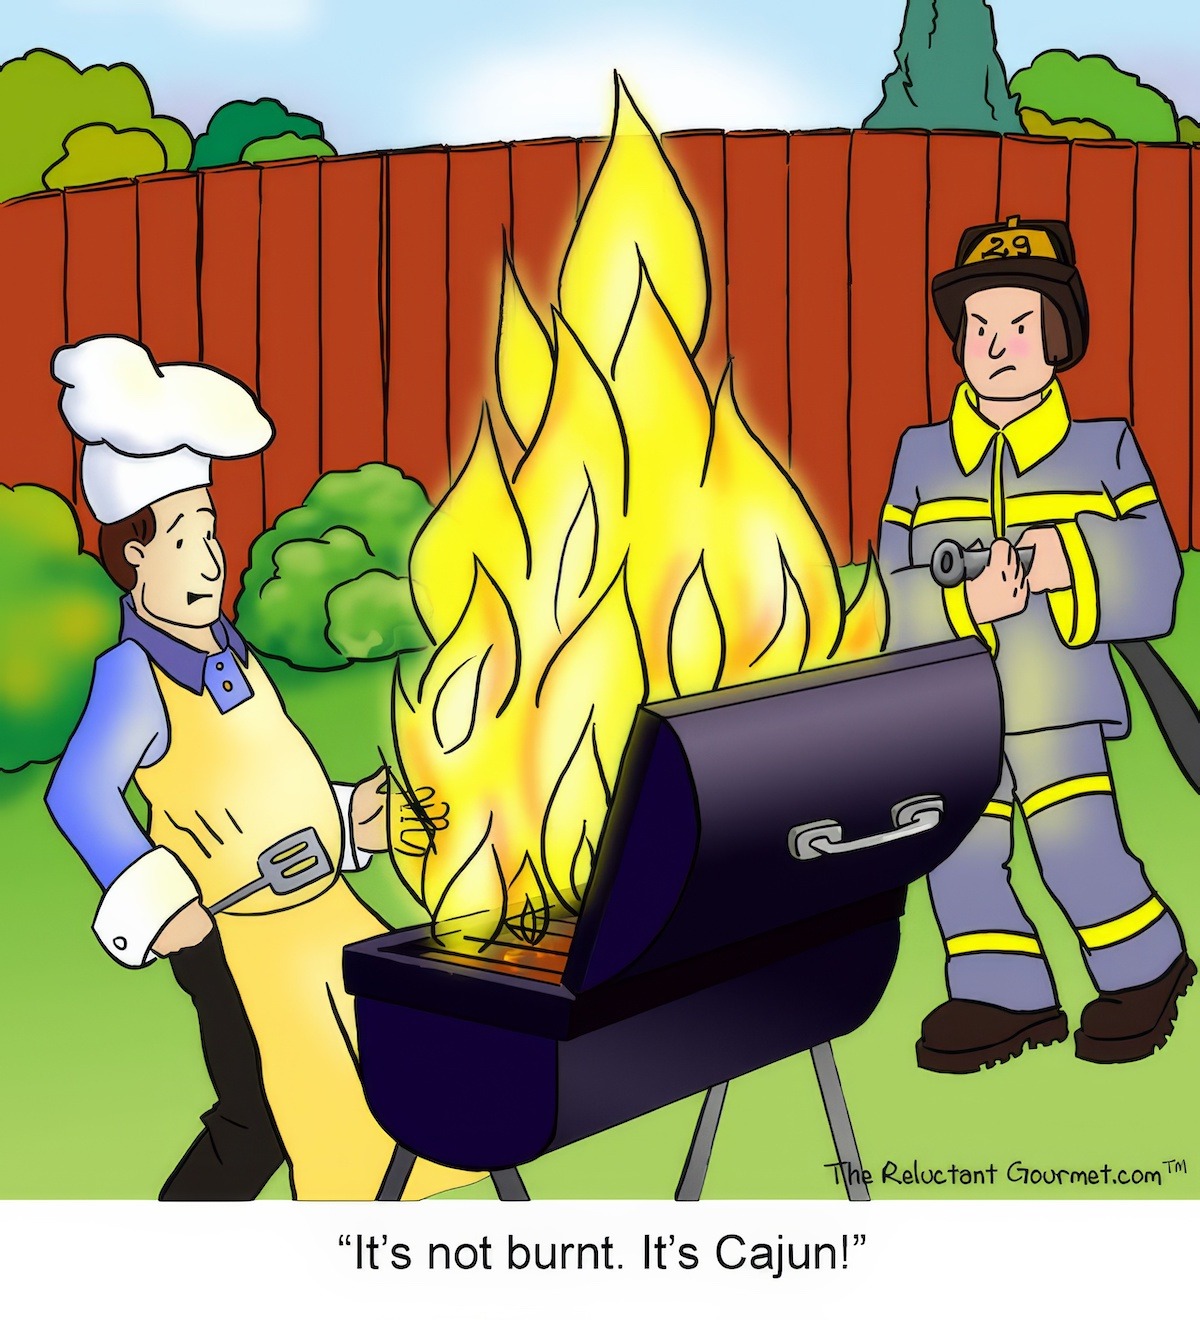
Have you ever found yourself walking away from the grill to, let’s say, get another beer or glass of wine, check out the score of your favorite sporting team, or get something else done in the kitchen only to come back and find what you are cooking up in flames?
It happens to all of us, and I can only say Don’t Walk Away From the Grill once you start cooking!
It’s easy to do and we all think we can do ten things at once (multitask), and most of the time, we can, but there will be times when your multitasking turns into multi-disasters.
In professional kitchens, one person operates the grill station all night. That person is responsible for what goes on the grill to ensure it is adequately cooked.
You might say home cooking is not like cooking in a restaurant, and it isn’t. You only have to stay at the grill for a short time compared to standing in front of a grill all night. Indeed if you are cooking a few steaks, you can handle standing there for 10 minutes without having to run off.
Now, if you are roasting a turkey using indirect heat, no one would expect you to stand there the whole time, but if you are cooking anything in under 15 minutes, try to resist another urge to multitask. Single task on the task at hand so your food is perfectly cooked.
Use an Instant Thermometer
Take the guesswork out of doneness: make sure to check the internal temperature of what you’re cooking with an instant read thermometer. There are many ways to tell if meat is done, but for the occasion weekend griller, the only way to be sure is to use a thermometer.
Pay attention to what you are doing, don’t walk away, and check that temperature. Over time, you’ll get a sense when grill so all you need is a quick touch with your finger to know if the meat is done to your liking.
Never cut into your meat to see if it is done. Use an instant-read thermometer. If you don’t, some of the juices will run out, and you’ll end up with dry, tasteless meat.
Let the Meat Rest
This comes down to carry-over cooking and resting. Just because you’ve taken your meat off the grill doesn’t mean that the internal temperature won’t continue to rise.
The heat that was at the surface when the meat left the grill will continue to travel through to the center, raising the temperature. That’s what heat does. It doesn’t get sucked back up into the fire, it continues to cook the meat.
Remember that food will continue to cook for a couple of minutes for thin cuts and up to 45 minutes or so for very dense foods (think turkey and large roasts), and take the food off the heat a few degrees before you reach your target temperature.
Cover your food and let it rest for 5-10 minutes for smaller, thinner cuts and up to 30-40 minutes for larger cuts. This rest time allows the thermal transfer to equalize and the juices to redistribute.
A few minutes of patient waiting will yield a perfectly cooked, juicy and tender result.
Don't Grill Inside
You have a grilling party planned. The menu is set, the neighbors are here, and it is beginning to rain. You consider bringing the grill indoors.
According to the United States Consumer Product Safety Commission, about 20 people die from grilling-related carbon monoxide poisoning every year. Grilling should ALWAYS be done in a well-ventilated, outdoor environment.
Never try to grill inside unless your stovetop is set up to grill and you have the proper ventilation. Your health and safety are much more of a concern than is cancelling a party.
