How to Grill a Steak

Perfectly Grilled Steak Every Time: Step-by-Step Methods That Deliver

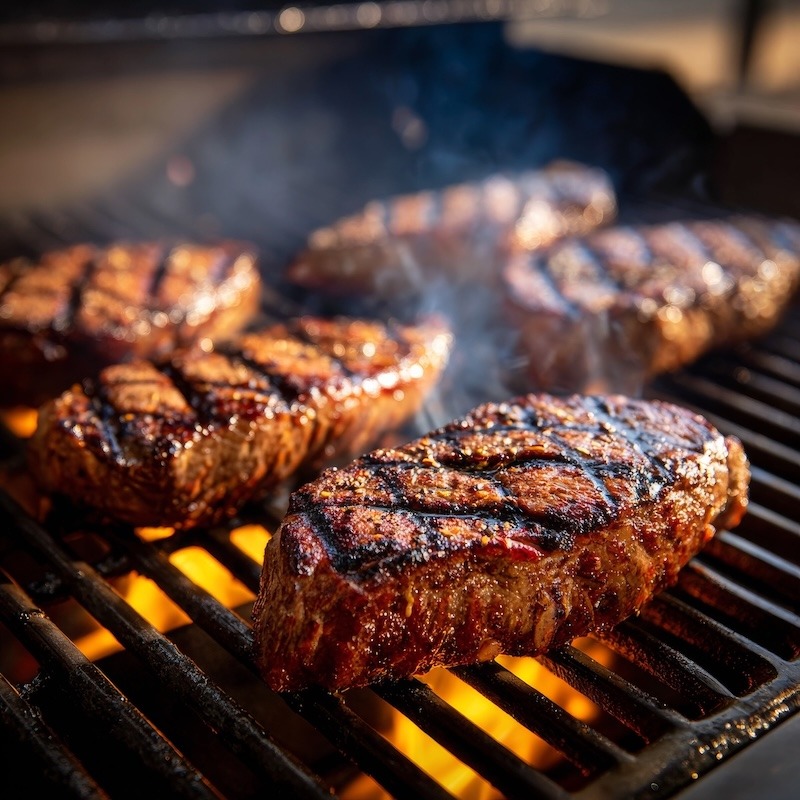
Grilling a steak isn’t a one-size-fits-all process—there’s more than one way to get that perfect char and juicy center. Whether you like your steak with a smoky crust, a buttery finish, or that beautiful crosshatch sear, grilling offers plenty of options to match your taste and style.

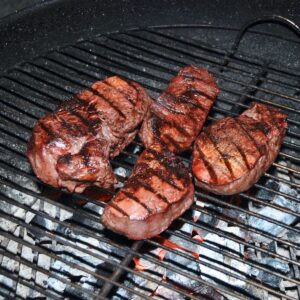
Some people swear by the blazing-hot sear-first method, while others opt for low and slow with reverse searing. There are also die-hard fans of grilling over charcoal for that bold, smoky flavor, as well as those who prefer the control of a gas grill.

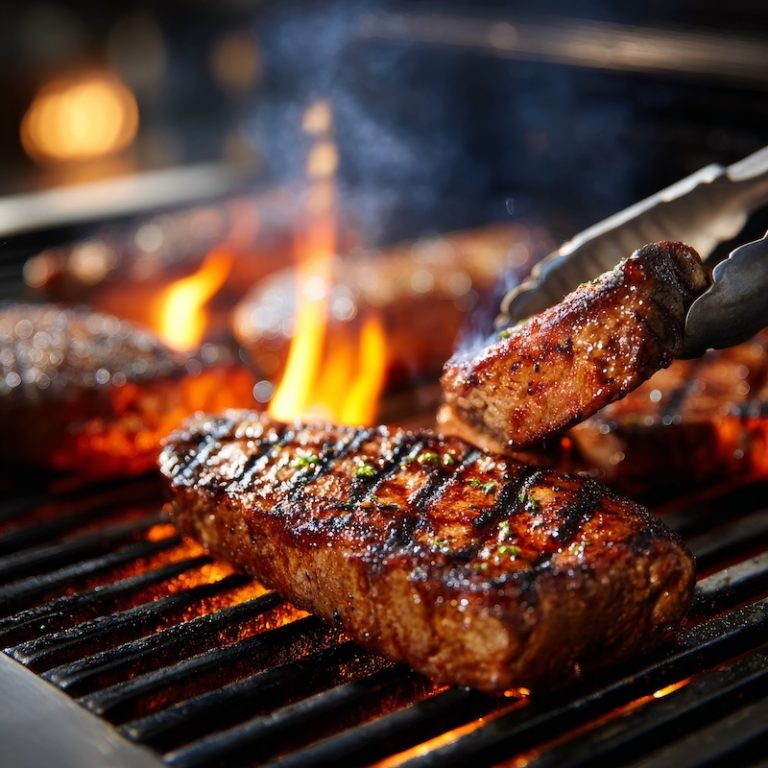
You can even finish a steak with compound butter, baste it while it cooks, or experiment with wood chips for extra flavor. No matter what your setup looks like—backyard grill, fire pit, or even a cast-iron pan on the side burner—there’s a technique that can make your steak shine.

In this post, I’ll walk through several ways to grill a steak, each with its own perks and personality. So grab your tongs, fire up the grill, and let’s explore how to turn a good cut of beef into a sizzling masterpiece. Your next steak night might just become your best one yet.

Direct Heat – High Temperature

One Flip Technique

Grill the steak over high direct heat, cooking one side fully before flipping it just once to finish the other. This method creates a bold, flavorful crust and is great for showcasing classic grill marks.

Flip Several Times Technique

Flip the steak every 30–60 seconds over high heat to promote even cooking throughout. This technique helps minimize overcooked edges and results in a more uniformly juicy interior.

Method Pros Cons Best For Ideal Use
One Flip Method
  • Creates strong, flavorful crust
  • Simple and traditional
  • Great for thick cuts
  • Risk of uneven doneness
  • Can overcook edges
  • Hot spots may burn
Ribeye, NY Strip, T-Bone When you want a bold sear and have even, high grill heat
Flip Several Times
  • More even doneness
  • Reduces outer overcooking
  • Controls flare-ups
  • Requires more attention
  • Slightly less crust
  • Less dramatic method
Filet Mignon, Flat Iron, Sirloin When precision is key and even cooking is the goal

Cooking Times

Steak Thickness Rare (125°F) Medium Rare (130–135°F) Medium (140–145°F) Medium Well (150–155°F) Well Done (160°F+)
1 inch 2–3 min per side 3–4 min per side 4–5 min per side 5–6 min per side 6–7+ min per side
1.5 inches 3–4 min per side 4–5 min per side 5–6 min per side 6–7 min per side 7–8+ min per side
2 inches 4–5 min per side 5–6 min per side 6–7 min per side 7–8 min per side 8–9+ min per side

Notes:

Times are total per side, assuming one flip.

For multiple flips, reduce time per side but increase overall grilling time slightly for even doneness.

Always use an instant-read thermometer for accuracy.

Rest steaks for 5–10 minutes after grilling to let juices redistribute.

Reverse Sear & Two-Zone Methods

Method Pros Cons Best For Ideal Use
Reverse Sear
  • Even edge-to-edge doneness
  • Great crust finish
  • Hard to overcook
  • Takes longer
  • Needs temp control
  • Best with thicker steaks
Ribeye, Filet Mignon, Tomahawk When you want precision and a steakhouse-style finish
Two-Zone Grilling
  • Flexible: sear and finish in one setup
  • Easy to manage flare-ups
  • Works for various steak sizes
  • Slight learning curve
  • Temp zones can be inconsistent on some grills
Porterhouse, NY Strip, Sirloin When you want control over doneness and a smoky char

Reverse Sear Time & Temp Guide

Reverse Sear Technique

Start by slowly cooking the steak over indirect heat (around 250–275°F) until it reaches about 10–15°F below your target doneness. Then, finish it with a quick, hot sear on both sides to build a flavorful crust without overcooking the interior.

Steak Thickness Target Internal Temp Before Searing Sear Time (Per Side) Final Temp (After Rest) Doneness
1.5–2 inches 110–115°F 1–2 minutes 120–125°F Rare
1.5–2 inches 115–120°F 1–2 minutes 130–135°F Medium Rare
1.5–2 inches 125°F 1–2 minutes 140°F Medium
1.5–2 inches 130°F 1–2 minutes 145–150°F Medium Well
1.5–2 inches 140°F 1–2 minutes 155–160°F Well Done

Steps:

Cook the steak low and slow over indirect heat (~250–275°F) until it reaches about 10–15°F below your target doneness.

Let it rest briefly (2–5 minutes max) if needed—mainly to stabilize juices and let the surface dry for a better sear.

Sear it immediately over high heat for 1–2 minutes per side.

Then rest fully (5–10 minutes) before slicing and serving.

Flipping a Grilled New York Strip Steak

Two-Zone Grilling Time & Temp Guide

Two-Zone Technique

Set up your grill with one hot zone and one cooler zone—cook the steak first on the cooler side to gently bring up the internal temperature. Then move it to the hot side to sear and finish, allowing for more control and fewer flare-ups.

Steak Thickness Indirect Side Time Sear Side Time (Per Side) Final Temp (After Rest) Doneness
1 inch 3–5 min 2–3 min 130–135°F Medium Rare
1.5 inches 6–8 min 2–3 min 135–145°F Medium
2 inches 10–12 min 2–3 min 140–150°F Medium to Medium Well

Steps:

Start steak on the indirect (cool) side of the grill with the lid closed.

When it nears the target temperature, flip and move it to direct heat to sear.

Rest before slicing.

What If Steaks Have a Thick Fat Cap On Their Edge?

When a steak has a thick edge of fat, don’t just grill the flat sides and call it done—give that fat cap some love, too. Searing the steak on its edge helps render the fat, crisp it up, and add extra flavor that takes your grilled steak to the next level.

Why Sear the Fat Edge?

  • Renders fat: Standing the steak on its edge helps render and crisp up the fat instead of leaving it chewy or flabby.

  • Adds flavor: As the fat renders and hits the grill, it can baste the meat and even flare up slightly, adding a subtle smoky char.

  • Improves texture: A nicely browned fat cap is much more pleasant to eat than a pale, rubbery one.

Tips for Searing the Fat Edge

  • Use tongs to stand the steak upright (fat side down) on the grill or in a cast-iron pan.

  • Press gently for 30–60 seconds, or until the fat starts to sizzle and brown.

  • Do this before or after cooking the main sides—before works well to get the rendering started.

  • If it’s hard to balance, you can prop it against another steak or use the edge of the grill or pan as support.

It’s a simple step, but it elevates the finished steak. 

Leave a Reply

Your email address will not be published. Required fields are marked *

This site uses Akismet to reduce spam. Learn how your comment data is processed.