


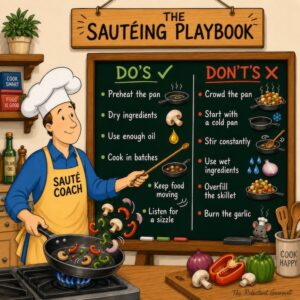
Sous Vide – A Very Cool Way To Cook
If you’ve been reading about sous vide everywhere you look and hear all the exotic tales associated with this new-age cooking technique but didn’t think it was for you, I want to share my personal experiences with it.
I can assure you I was very skeptical when Chef David Nelson encouraged me to go out and buy an Anova Precision Cooker and Searzall Burner. Still, after just a few “experimental” test dishes, I’m hooked and can’t wait to learn more about this technique and practice working with it.
What Is Sous Vide Cooking?
In French, sous vide means “under vacuum” and is one of the steps required for this technique, but it is more about temperature control. Basically, you vacuum seal ingredients in plastic bags, submerge them in water, and cook them at “precisely controlled temperatures” for a specific amount of time.
What temperature and how long varies from chef to chef depending on the ingredient but typically ranges from 125°F to 140°F. These temperatures are much lower than cooking on a grill or roast in an oven, so it’s important to cook these ingredients for the proper amount of time.
I am not a food scientist, so I will not try to explain the science behind sous vide or talk about its safety issues, but rather explain my experiences with this fantastic cooking technique and the results I’ve enjoyed with my first few attempts. There is a lot of great information on the Internet for those interested in learning more about science, and I encourage you to seek it out.
What Are My Initial Reactions to Cooking Sous Vide?
In a word, AMAZING!!! As you will see below, everything I tried cooking turned out better than expected. When you sous vide a piece of meat at a specific temperature, the entire cut is cooked precisely from top to bottom, side to side.
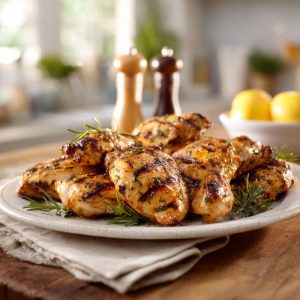
Chicken breasts often dry out in the oven or on a grill and are moist and tender. Lobster cooked with a bit of butter in the bag is incredible.
They retain more moisture because you are not exposing ingredients to high temperatures. And the textures have been perfect so far. I have many more meals to cook to confirm these initial findings, but from what I read and hear from other cooks, I’m sure they will be the same.
Browning
Although the sous vide technique perfectly cooks ingredients, they may only look so good with some help. A steak cooked in a vacuum bag in a pot of water may be perfectly cooked inside but look like a gray, unappetizing chunk of meat on the outside.
To fix this, you only need to brown the steak for a minute on each side in a hot frying pan, on the grill, or with a fun little device called a Searzall.
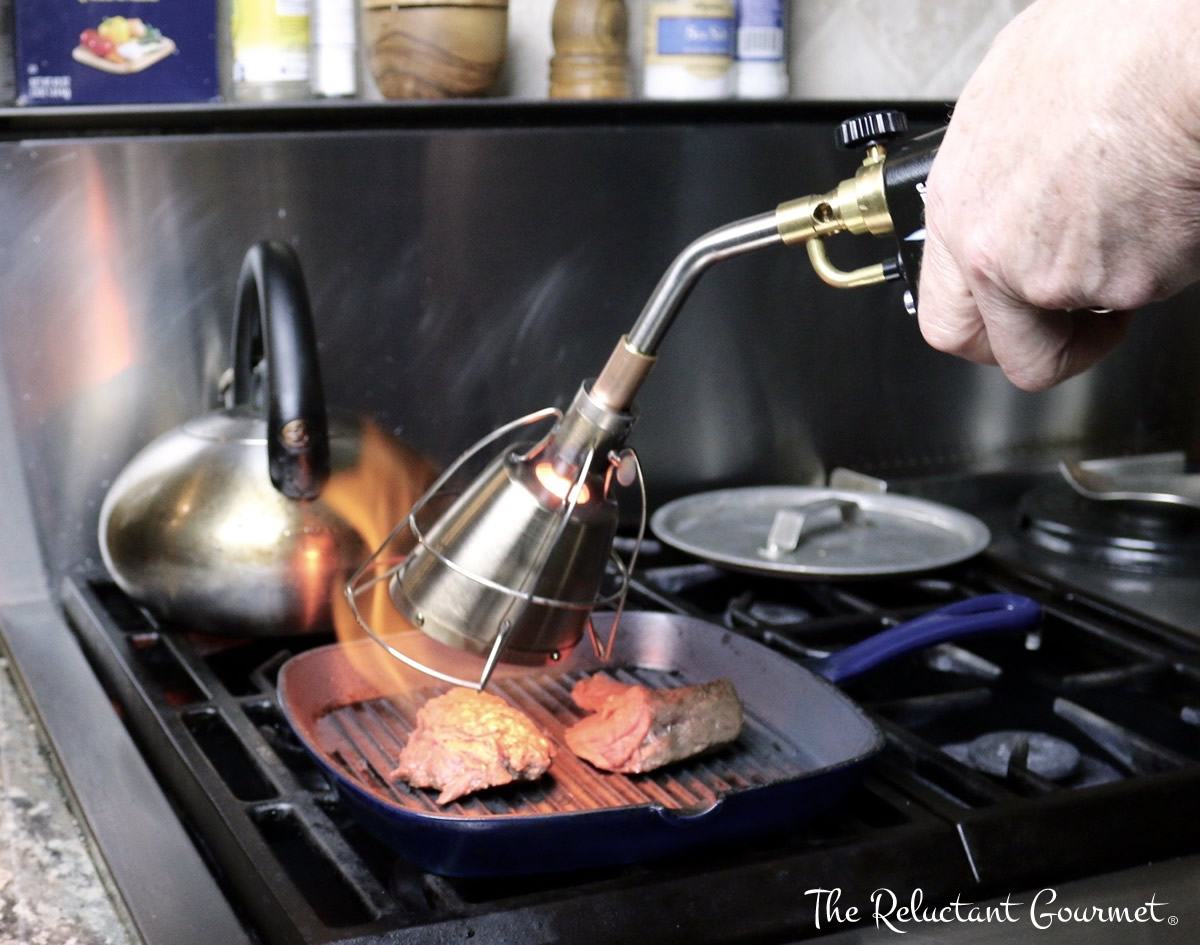
What Is a Searzall?
Basically, a blowtorch attachment with two screens and a large head to diffuse the heat from a standard propane burner. Created by Dave Arnold from Booker and Dax food lab, the Searzall is perfect for searing the outside of a steak or chicken breast without changing the internal temperature after cooking it sous vide.
I admit I was a little intimidated when I first tried my newly arrived Searzall, but I was much more comfortable after a few attempts using it. It’s an excellent toy for those of us who love kitchen gadgets. I’ll be using it increasingly as the local Philly temperatures finally drop, and I want to avoid standing outside in the cold at the grill to sear my sous vide steaks and chicken.
My Very First Attempts at Sous Vide
When I received my Anova Precision Cooker, aka sous vide equipment, I wanted to try it. We had some shrimp defrosting in the refrigerator for that night’s shrimp risotto, so I grabbed eight of them and sealed them up in a Foodsaver vacuum-sealed bag with some Soy Vay sauce.
After doing a little search online, I came up with a temperature of 149°F for 15 minutes. When they were done, I removed the bag from the water, cut it open, and transferred the shrimp to a cast iron pan. I dried them off with a paper towel and gave them a blast sear from my new Searzall.
The shrimp were incredible! I cooked them with the shells on, and next time, I would remove the shells first, but the texture was perfect; they were firm but moist and not overcooked like shrimp often are when grilled or sauteed.
Shrimp don’t have that much flavor to start with and are more of a conduit for cocktail sauce or any other sauce you stick them in. I’m sure that’s because I’m not getting fresh shrimp right from the ocean, but very few people are. Almost all the shrimp you buy at the market, even those that say “fresh,” was previously frozen.
Anyway, the kids, as did my wife, tried these shrimp, and the group response was very favorable. Not bad for my first attempt.
Next Up Was Sous Vide Beef

One of my favorite commercial beef products is Teriyaki Marinated Beef Sirloin Steak Tips from Wegmans. You get three tips in the package, they are easy to cook on the grill, and the kids love them. What more can I ask?
The steak tips would be a perfect choice to test sous vide. The beef is already marinated and ready to go. I wasn’t sure about using the package the tips came in, so I transferred them to a vacuum seal bag with all the marinade and sucked all the air out.
After a quick look-see on the Internet for time and temperature, I decided to go with 130°F for 2 1/2 hours. After reading more about sous vide cooking, I realized I didn’t need to cook them that long and 45 minutes to 1 hour would have been enough.
I used my Searzall to brown one of the tips, and the results were better than expected. The meat was moist, and the texture perfect, especially where I hit it with the Searzall. The meat didn’t dry out, and every bite was wonderfully moist.
I saved the other two tips for my daughter’s dinner. For their beef, I threw them on a hot grill for a couple of minutes to heat them up and brown them up a little. Again, great flavor, texture, and moisture. The only problem was there were no seconds.
Sous Vide Chicken with Sous Vide Carrots and Leeks
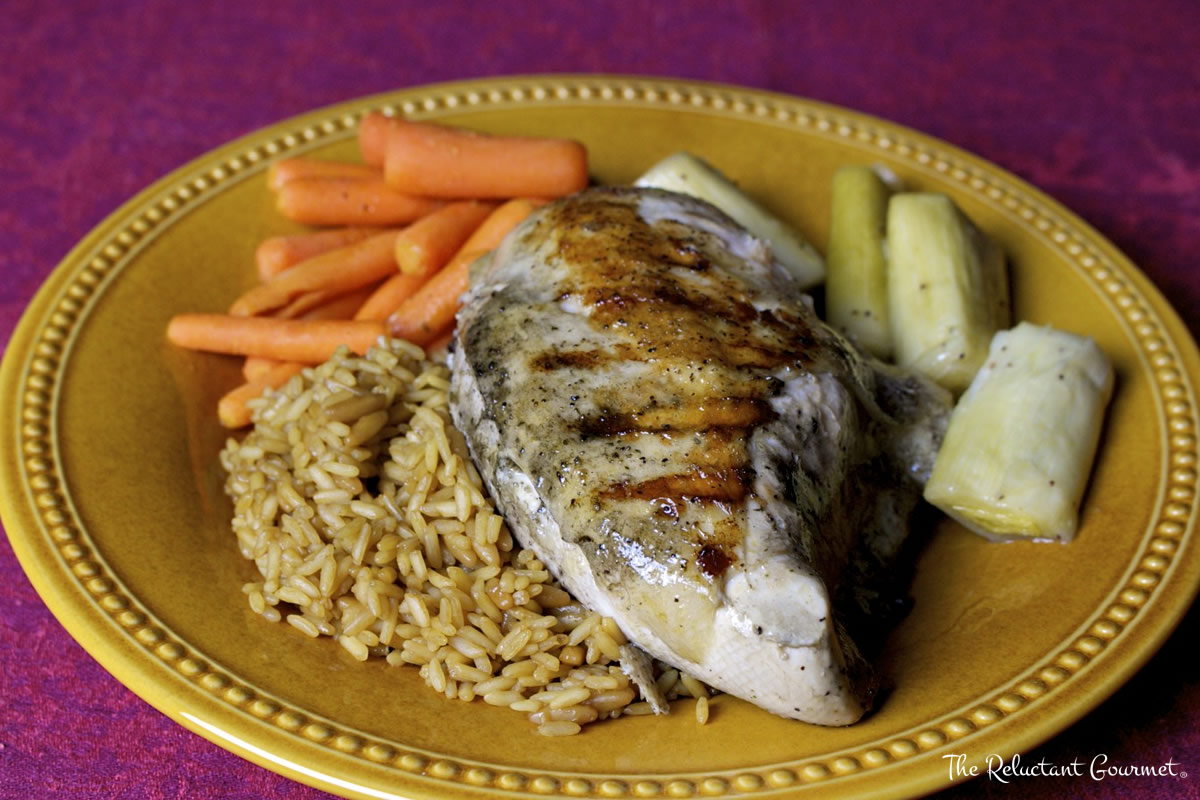
For my next attempt at sous vide cooking, I thought I would try some bone-in, skin-on chicken breasts using an online recipe, along with some carrots and leeks I had in the refrigerator. The chicken recipe only included salt & pepper, fresh herbs, and lemon slices. I used some fresh parsley and lemon slices.
My problem with today’s supermarket chicken is it has little flavor especially compared to the free-range chickens I purchase at the outdoor farmer’s market. So it’s essential to find a way to add extra flavor to the chicken so it doesn’t come out bland like mine did this time.
I could have made a sauce, but I like my What I Cooked For Dinner Facebook Group friend Sharon suggested, “I find rubs and spices work well with any of the meat in the Anova.”
Next time I will try a rub and see if that makes a difference. I would also use boneless, skinless chicken breasts. Why? Because you don’t need the bone to keep the breasts moist and tender. You lose very little liquid when cooking this way.
I would go skinless because I think it would be easier to brown the meat without the skin, although a Searzall grill or fry pan does an outstanding job – it just takes longer with the skin on.
I cooked the chicken breasts at 150°F for 1 hour, and the meat was perfectly moist and tender with an incredible texture. I finished them on the grill to brown the exteriors.
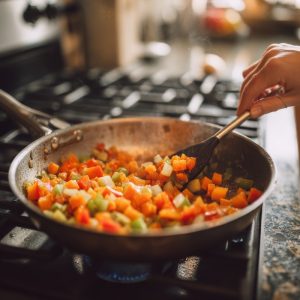
The carrots and leeks are cooked separately using salad dressing and maple syrup for a marinade. You would think veggies would cook faster than meats in sous vide, but that was different here. The leeks cooked at 184°F for 1 hour and were just OK. I should have sliced them thinner.
The carrots were cooked in maple syrup and salt & pepper at 180°F for 45 minutes. I thought they were a little too firm. After doing a little more research, I will cook them at 185°F for an hour next time and see if that makes a difference.
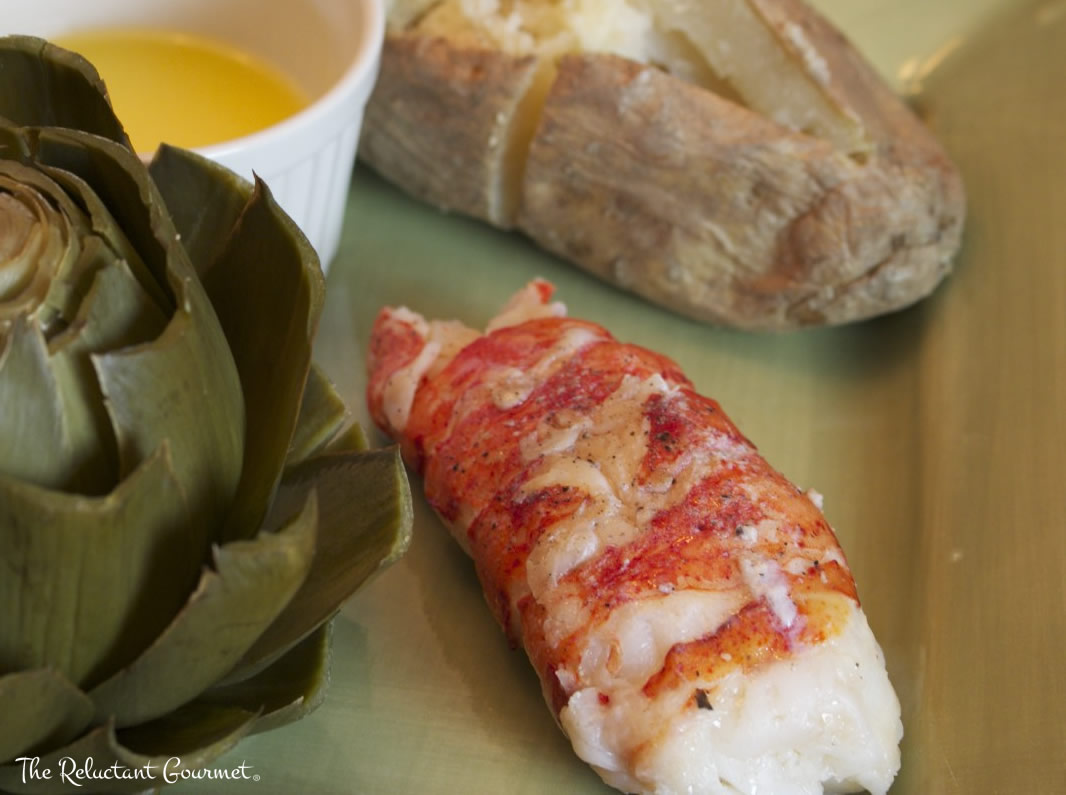
Sous Vide Lobster Tails For My Wife’s Birthday

My wife asked for lobster tails, fresh artichokes, and a baked potato for her birthday dinner. My friend Chef David Nelson had told me about his very positive experience of preparing lobster tails sous vide style, so I gave it a go.
The hardest part of this dinner was getting the tails out of their shells. I used kitchen scissors to cut underneath the lobster and a spoon and fingers to get the meat away from the shell. Next time I may wear some thin work cloves.
Chef David has been trying to perfect his Sous Vide Poached “Lobstah Tails” recipe, and I think he did it. 18 minutes at 141°F with 1 – 1/2 tablespoons of butter per 5-ounce shell-less tail. Again, the meat was wonderfully cooked throughout, and the texture was perfect.
I threw the cooked tails in a hot pan with just a little of the butter from the bag to give them more color. It was an excellent meal. I hope to duplicate it a few more times.
Initial Sous Vide Tips
As you can see, my first attempts at cooking sous vide went well. Much easier than I expected, with even better results than I had hoped for. I did make a few mistakes along the way, including these two:
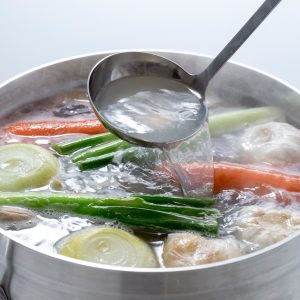
Container Size – you only need a container, be it a saucepan or stock pot, or plastic container, big enough to hold what you are cooking with enough water to cover the vacuum bags and not let them get close to the sous vide components. I purchased a large plastic container big enough to cook a turkey in, but it took forever to get the water up to temperature. I then purchased a plastic container 1/3 that size, and it works great.
Water Temperatures – you don’t need to start with cold water. You can use the hot water from your tap, around 120°F. So if you cook a steak at 130°F, you only have to raise the temperature to 10 degrees.
After trying to get my giant plastic tub of water to the correct temperature, I finally decided to heat a tea kettle with water to get things moving. I also used a kitchen towel to cover the container. This helped raise the temperature faster too.
Conclusion
So far, everything I have tried cooking sous vide has turned out well. There is much more for me to learn about this technique, and I look forward to discovering as much as possible and sharing it with you in future posts.
One Response
Our elder son, the culinary school grad, turned us on to sous vide; amazing method w/excellent results. We are converts!